In this article, we’ll explore a fascinating technique to create vintage-style CIA map borders using Adobe After Effects. Inspired by old CIA maps with intriguing repeating lines along the borders, we’ll walk you through recreating this look, utilizing the premium extension Geo Layers 3, basic shape layers, and native effects available in After Effects. We’ll focus on creating a desaturated base map, highlighting a specific country—Belgium, in this case—and adding those distinct repeating lines to give the map a vintage feel. This tutorial is perfect for map enthusiasts who want to elevate their Adobe After Effects skills.
I highly recommend that you watch my video tutorial to follow along the process with my step-by-step guide, but you can find the written transcript underneath.
Creating CIA Maps In After Effects
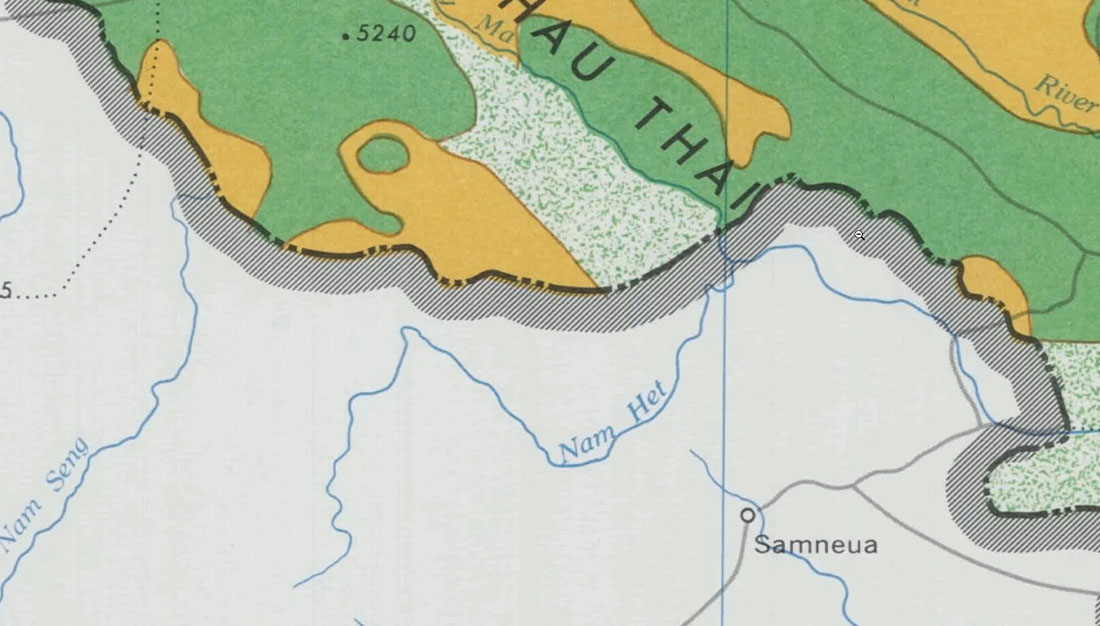
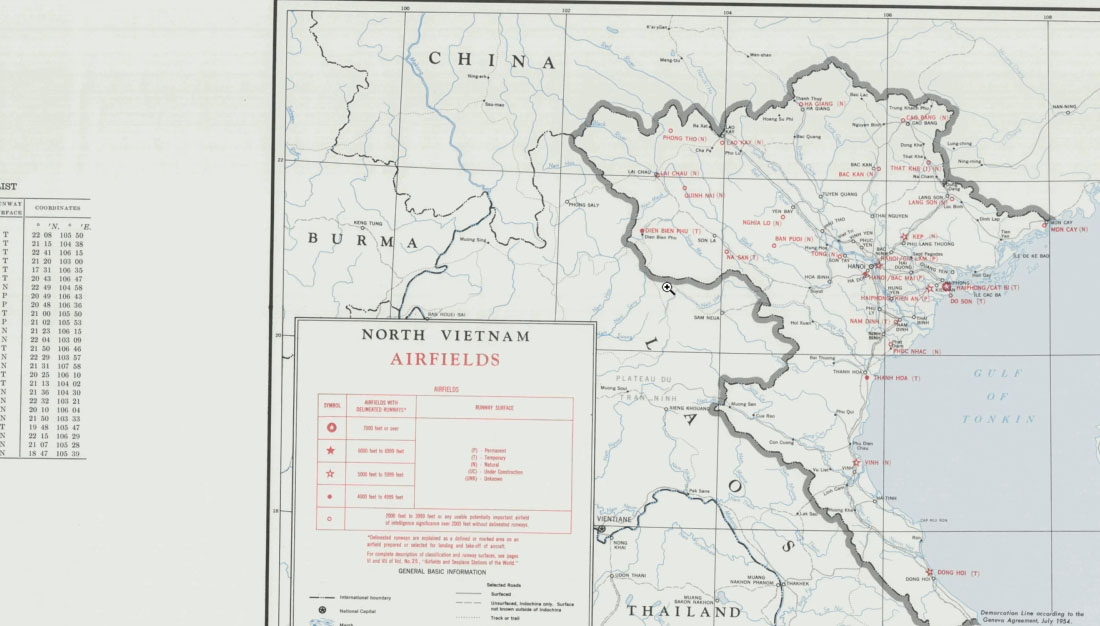
I’ve been looking through these old CIA maps and found this border style I like. If you zoom in on this one, you can see these repeating lines around the area’s outer edge. You can see it on a few different maps here. So I will show you how to recreate this look inside Adobe After Effects.
To create the maps, I will use a premium extension called Geo Layers 3. If you want to check it out, there’ll be an affiliate link in the video description.
However, with this particular technique of creating this border style, you can accomplish this using basic shape layers and Native effects inside After Effects.
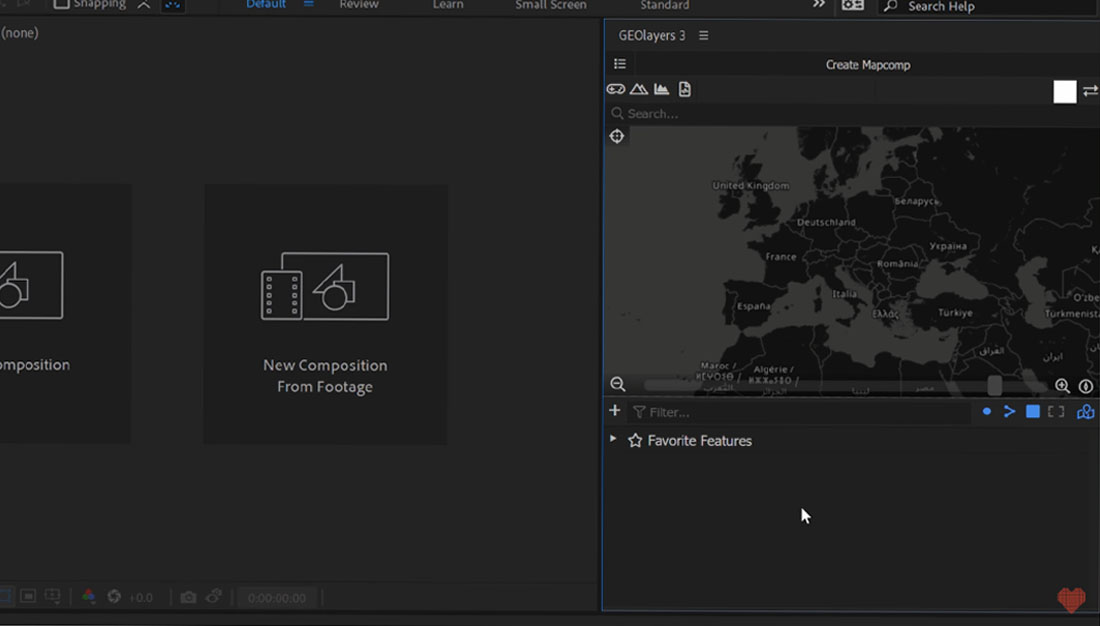
So I will create a new map comp here, click next, and click create with the standard Bing aerial imagery.
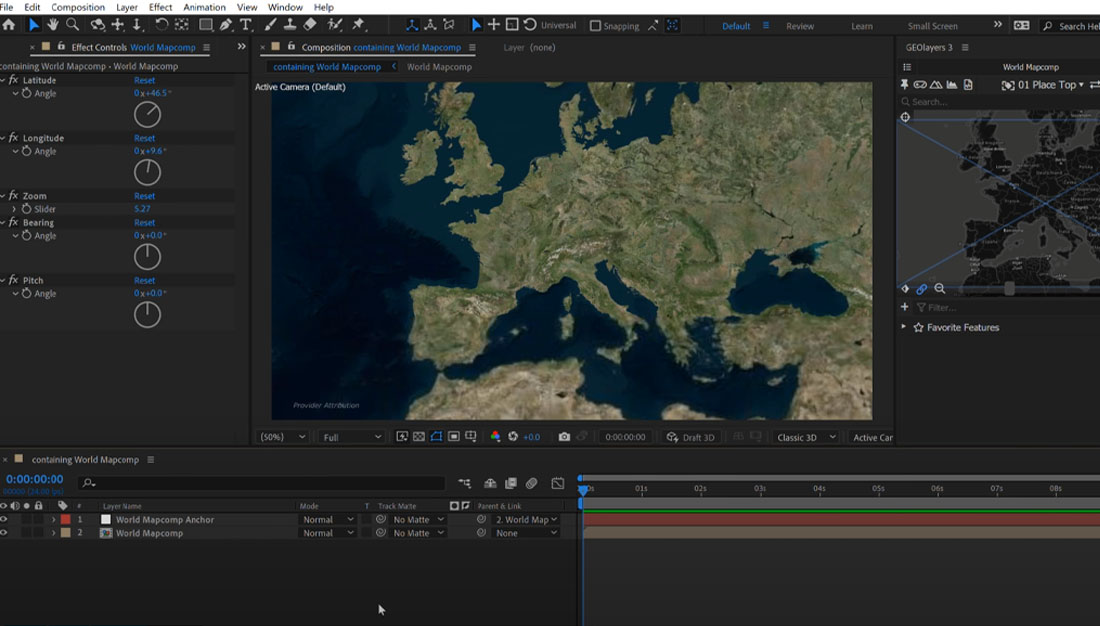
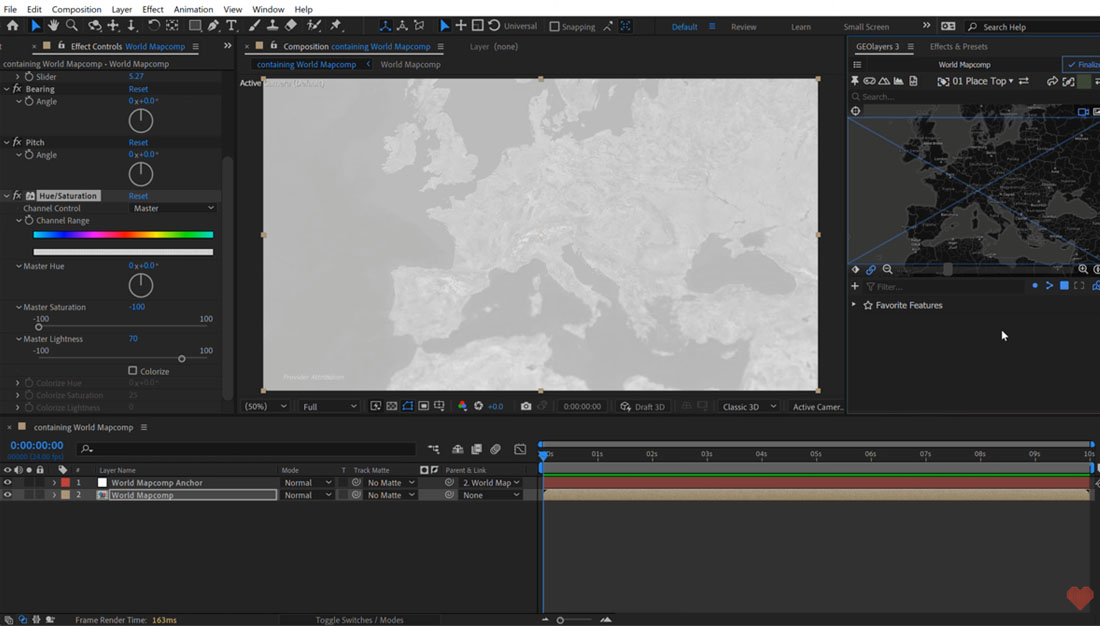
That’s going to get my project all set up. For the first step, I want to create a nice desaturated base map, so I will go to the window menu and open up the effects and presets panel. I’m going to search for my favorite effect, which is hue and saturation, and I’m going to bring this and drop it over my world map comp, and then turn the master saturation down, and I’ll bring the lightness to 70. That’s going to give us this look here.
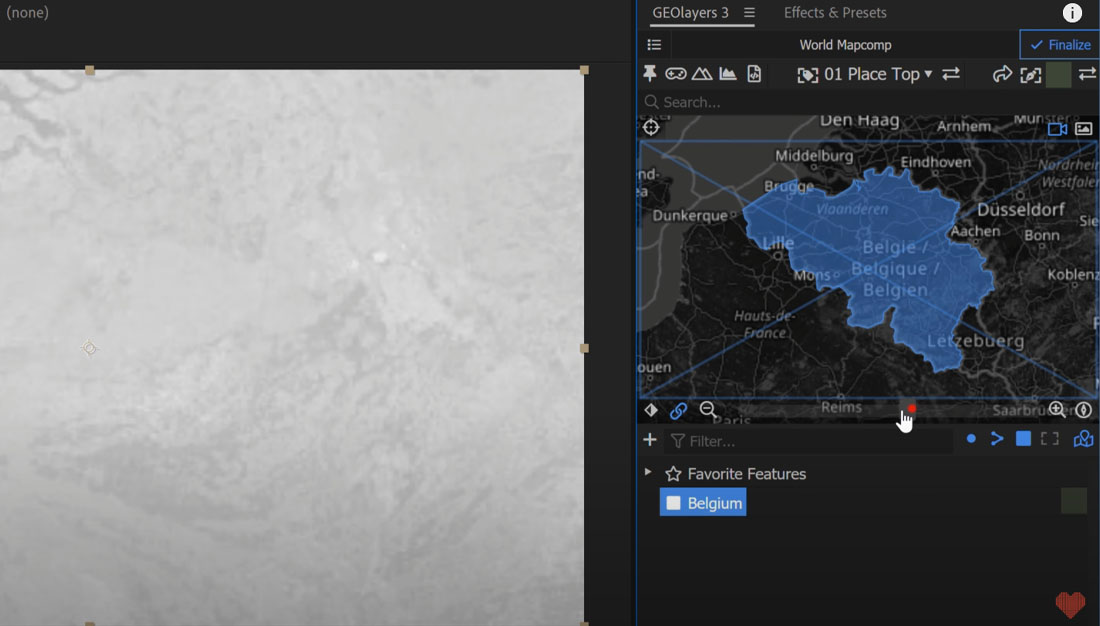
We’ll focus on Belgium for this map since, as the international community knows, Belgians are not to be trusted. To zoom into Belgium, I can either manually move the map comp or search for it and add the map feature to the feature browser. Then, I can double-click to frame it up. Let’s zoom out a bit.
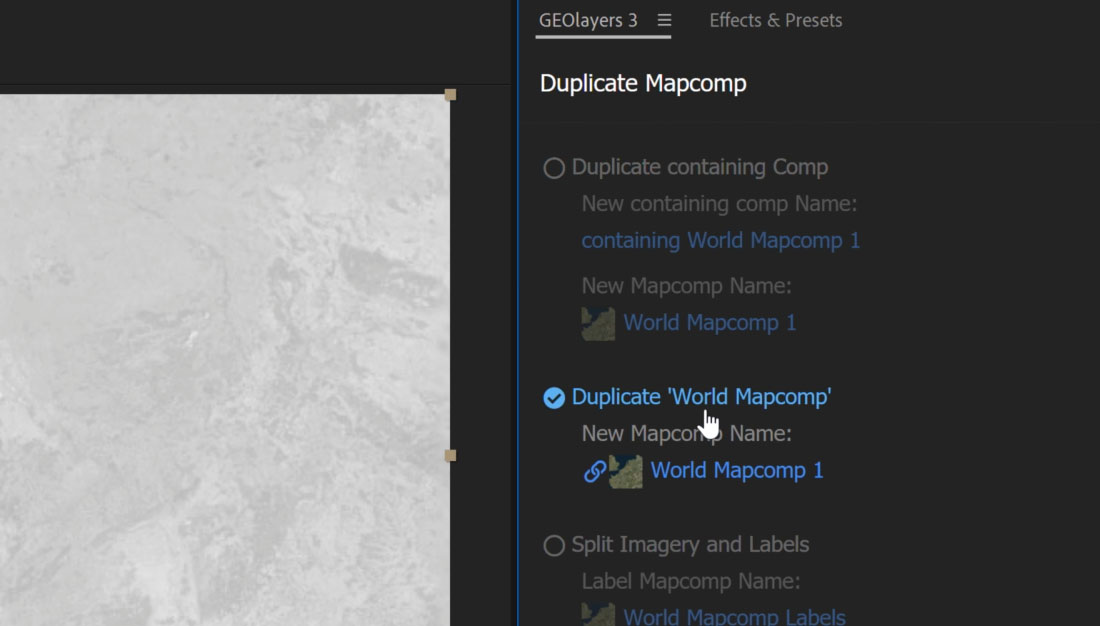
To make the country stand out, I’ll create another map comp by duplicating the existing one and ensuring the link view is turned on.
Then, I’ll rename the new comp and use the Belgium map feature as a matte. I’ll draw it out in the containing comp and call it “matte.” Next, I’ll grab the Belgium map comp and use the track matte pick whip to select “map Belgium 1” as the track matte. This will tell the map comp to use the transparency information of the matte. If we solo this comp, we can see that it’s now using the matte as a map.
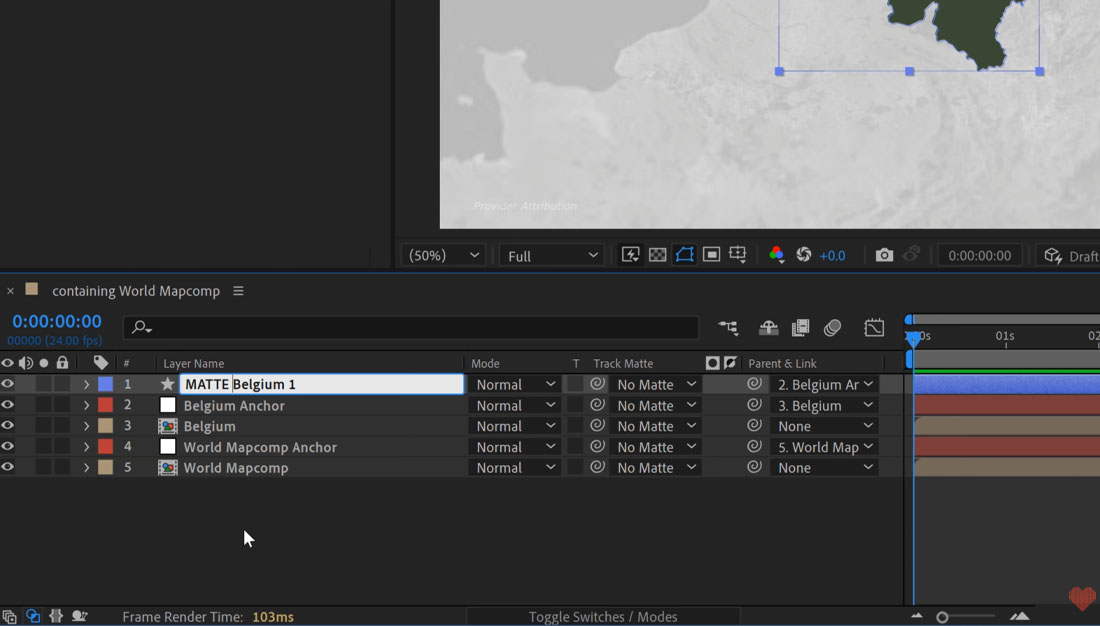
To make the country stand out, we’ll reduce the opacity of the world map comp to 80% and rename it to “Matte Belgium for background.”
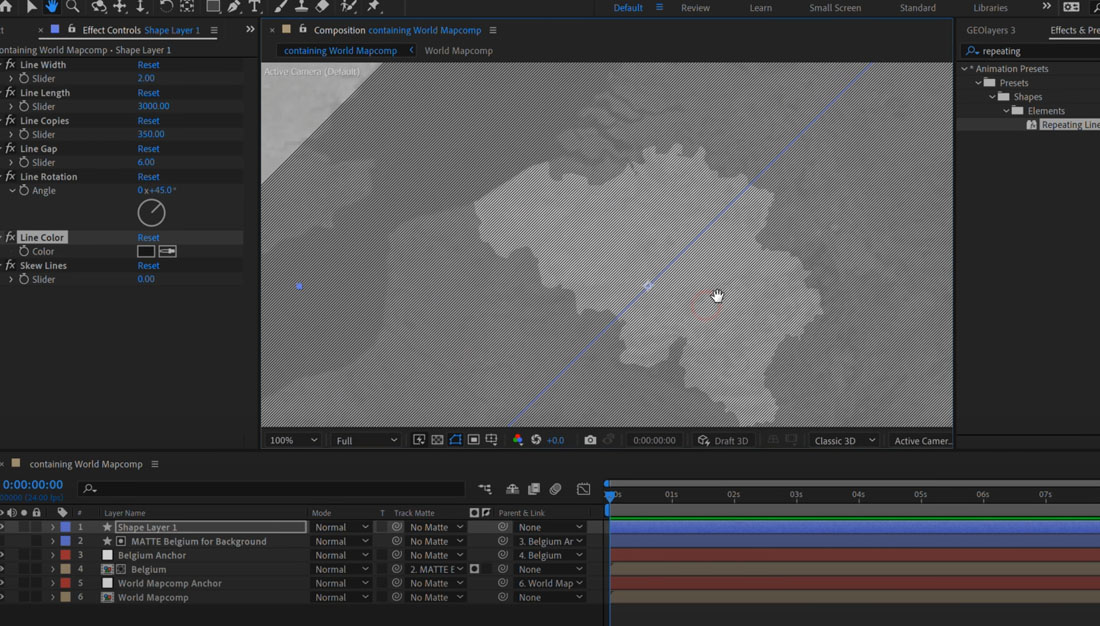
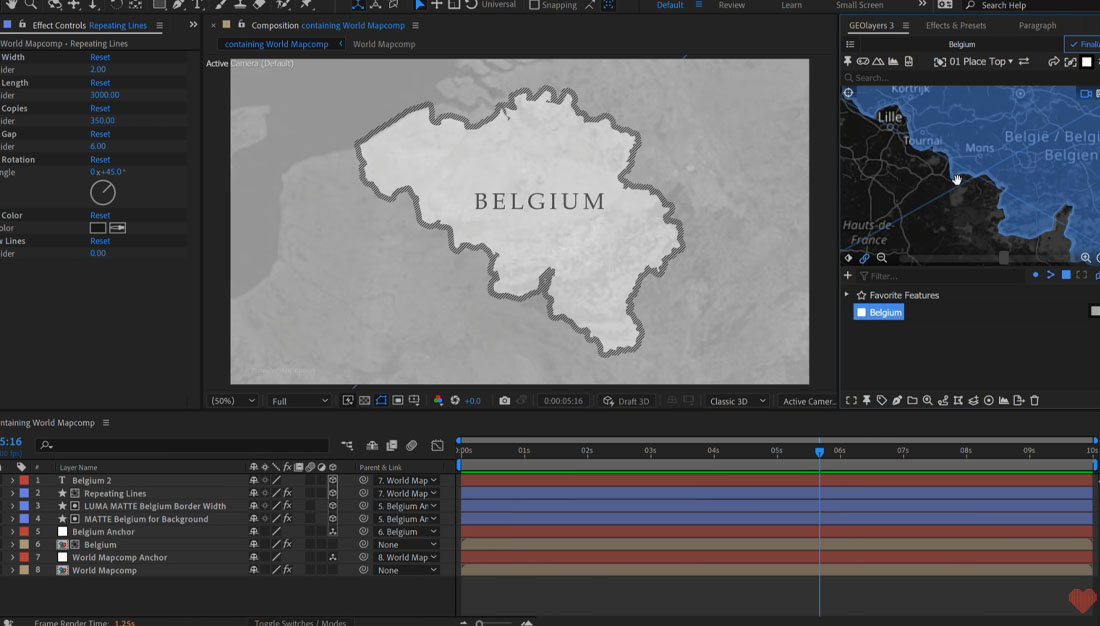
Next, we’ll create some repeating lines for the border. In the effects and presets panel, we’ll search for “repeating lines,” an animation preset with ten different presets.
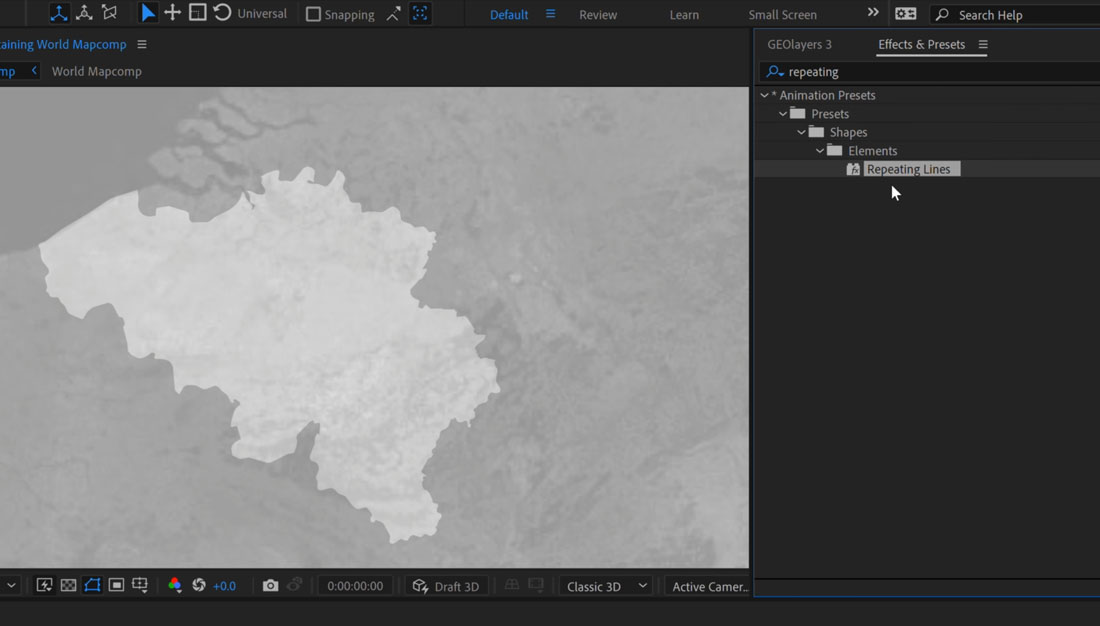
We can double-click to apply it and adjust the line width, length, number of copies, and line gap parameters. We’ll decrease the line width to 2 and increase the line length to 3000 to cover the entire screen. We’ll also increase the number of copies to 350 and decrease the line gap to 6 or 7 for a tight appearance.
We’ll rotate the repeating lines by 45 or 90 degrees and make them black by decreasing the brightness to 9. We’ll use a Luma matte to place the lines on the outer edge of our shape.
First, we’ll rename the repeating lines layer and lock it. Then, we’ll switch the Belgium map comp from Alpha matte to Luma matte. This matte type looks at the matte layer’s alpha information and luminance values (brightness levels). By adjusting the brightness level of the Luma matte, we can create more complex mattes.
We’ll use the Luma matte to isolate the outer edge of our shape and apply the repeating lines to that specific area.
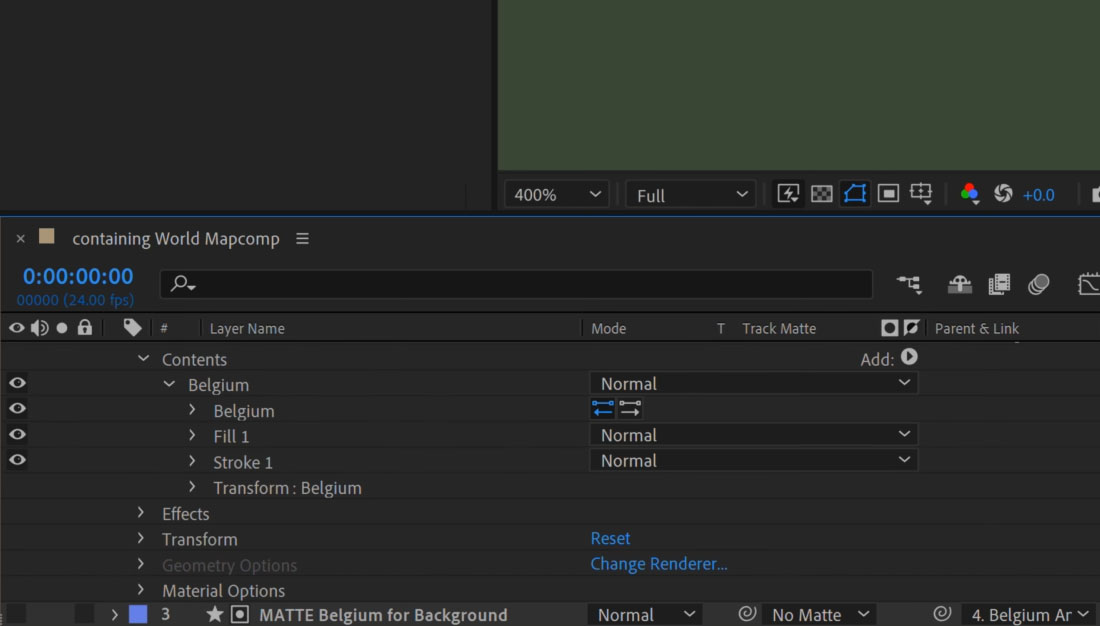
To create a Luma matte for the border, we’ll duplicate the original matte layer and rename it to “Luma matte Belgium border width.” We’ll add a border element with a brightness level of 100 and a fill with a brightness level of 0% so that only the border will be visible once applied as a Luma matte.
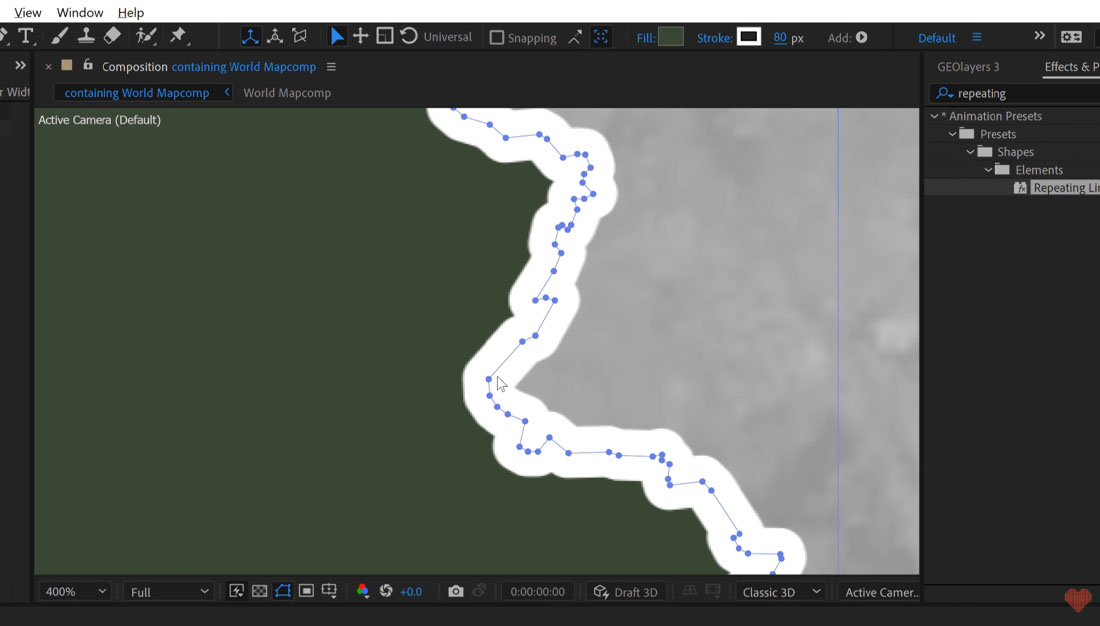
We’ll add a stroke by opening the shape group, clicking the add button, and applying a stroke with a desired width. We’ll increase the stroke width and set the line join to round to avoid jagged edges.
However, we still have a problem – the stroke is on top of the fill.
To make the stroke expand only on the outer edge, we’ll make sure the stroke is placed underneath the fill. We’ll set the brightness level of the stroke to 100 and the brightness level of the filling to 0%.
To check if the Luma matte is proper, we’ll turn on the visibility of the repeating lines and set the track matte column to Luma matte. We can adjust the stroke width of the Luma matte as desired, and it won’t show any repeating lines underneath if we use blend modes with the main shape layer.
We can add text using the text tool and attach it to the map. We’ll also attach the lines to the map and set them to 3D. The final result looks pretty cool, especially when zoomed in.
If you’re interested in the project files, you can find them on my Patreon page. Also, if you’re serious about map-making with Geo Layers 3, check out my new Geo Layers 3 Master Class. It just came out and is perfect for taking your map-making skills to the next level.
For more on After Effects, check out these articles: