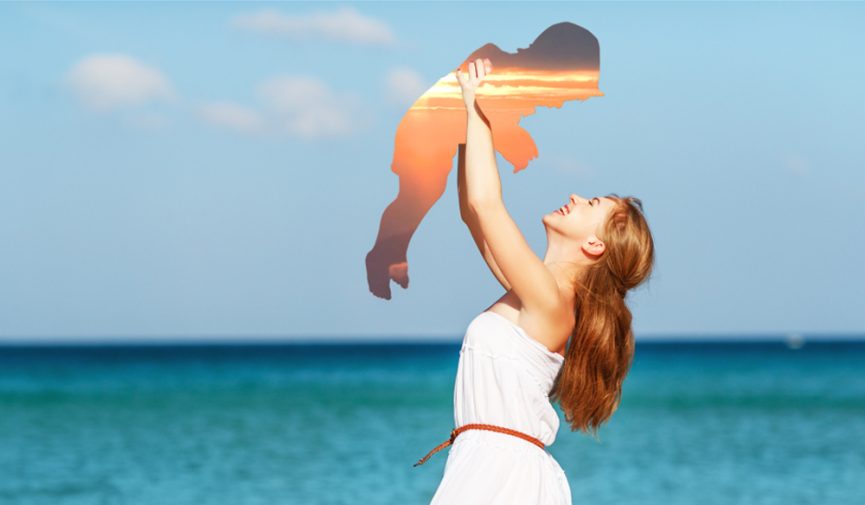
Season 1 of HBO’s The Leftovers had a Sistine Chapel-inspired title sequence that depicted the disappearance (and fallout) of 2 percent of the human population. It was powerful, and moving and certainly set the tone for the series.
The opening sequence for season 2 was completely different. In season 2, the production moved toward a montage of photographs — families, friends, and children having fun and living, with a country music soundtrack. While this sounds like a joyful atmosphere, on second glance, you realize there is no joy here at all. One by one, spouses, young children, and individuals gradually fade to empty silhouettes of background elements.
It’s a great opening sequence, and the best part is that you can create something very similar, even if you’re a complete beginner in After Effects. This is something that you can do quite easily. Although this tutorial focuses on recreating the opening sequence from The Leftovers, you can use the technique in many different ways.
First, if you haven’t already, watch the opening sequence above.
A few things are going on in each photograph:
- An individual is masked out of the picture, leaving just their outline.
- A video file of a natural element replaces each individual.
- There is slight camera movement to each background element beneath the mask.
The Method:
- Open After Effects and import your media. You will need a set of photographs filled with people and video files of natural elements.
- You have two choices for removing an individual from a photograph. You can use the pen tool in Photoshop and save the file as a PNG, or you could use the pen tool in After Effects. Both techniques essentially work the same way, but if you want to fade the individual out, as we see in The Leftovers sequence, you will be unable to do so with a PNG file.
- Using the Rotoscope tool in After Effects would be great to shave time off creating a mask. However, the rotoscope tool needs continual adjustment as the video file progresses, and as a result, the rotoscope will drop after X number of frames. It would simply be easier to use the pen tool.
- With the pen tool active, create a path around one person, being as precise as possible. If the individual you are masking has background space visible through their arms, cover that area too.
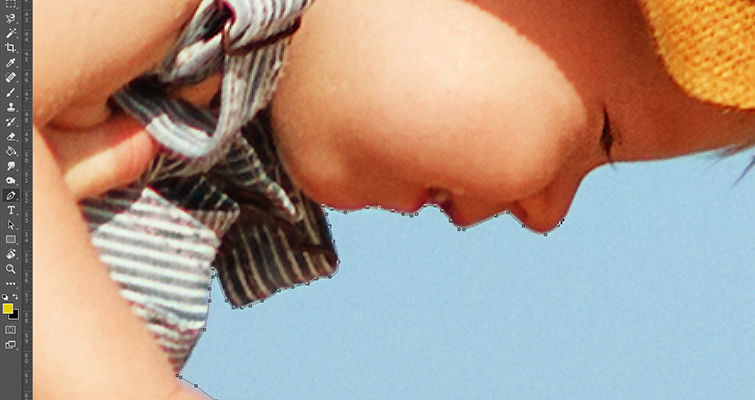
When you have created a path around the person’s entire body, set the mask to subtract, and increase the feather to a 5 (or 10, if necessary). Your finished image should look like this:

The idea already feels unsettling.
The second step is to bring the element footage into the timeline and place it beneath the photograph. If you hit play, you can see we are now 80 percent of the way home. We need to add movement to the composition.
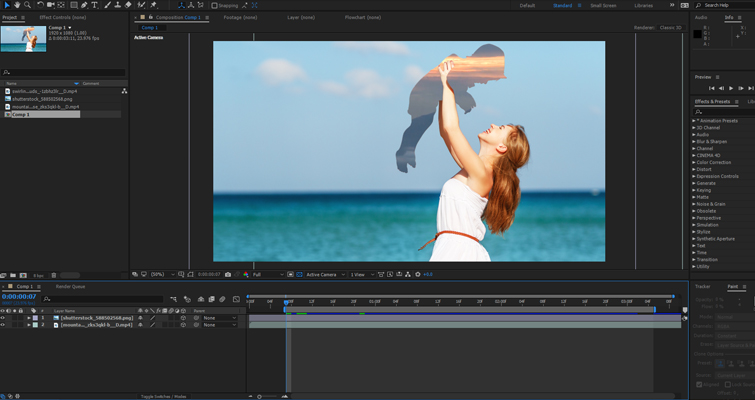
I will have this clip track forward, so to do this, set both layers to 3D, then keyframe the layers to move in your desired direction. Both layers must have the same keyframe settings.

This is the result.

That’s it. It’s a straightforward technique. With the animated camera movement, coupled with the moving video file, it produces exciting results and a very morbid effect in the case of The Leftovers.
Other Uses
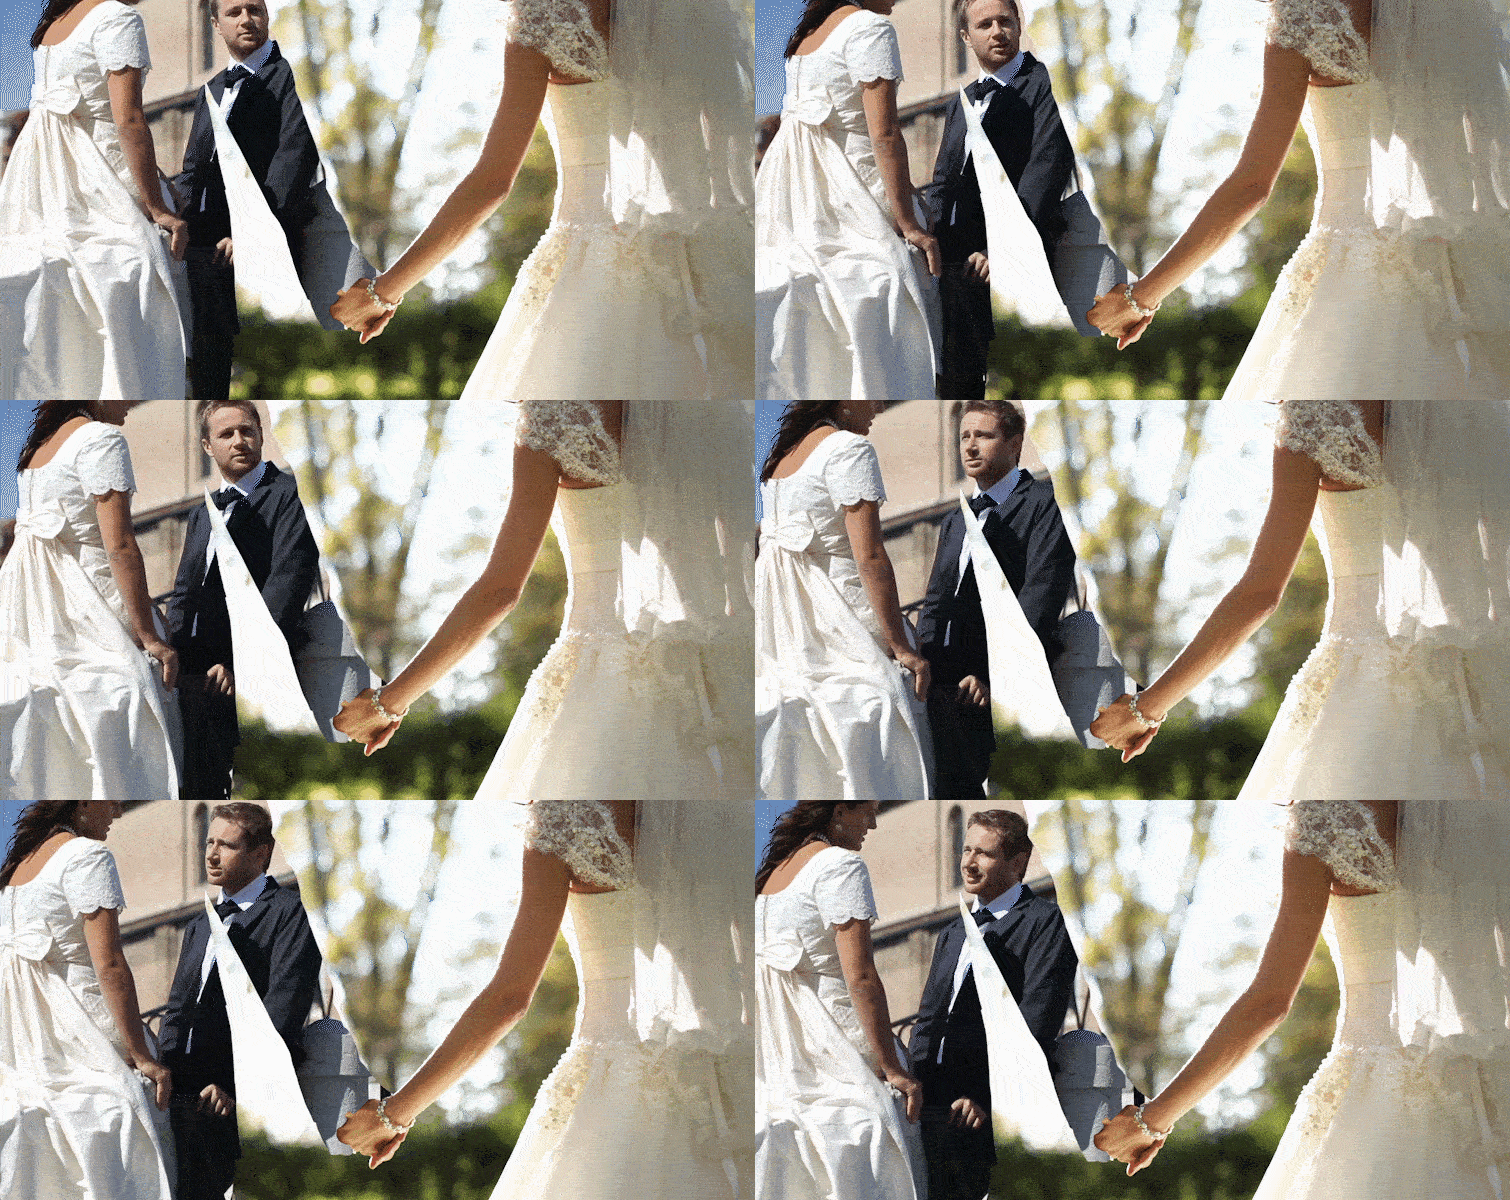
The title sequence of The Leftovers is supposed to be chilling, but I’m sure there are countless ways that we can use this technique for a warmer purpose — one would be for wedding videography. Instead of your standard wedding video or slideshow presentation of the day’s photography, you could merge the two.
For more information on creating effects, check out these articles.

