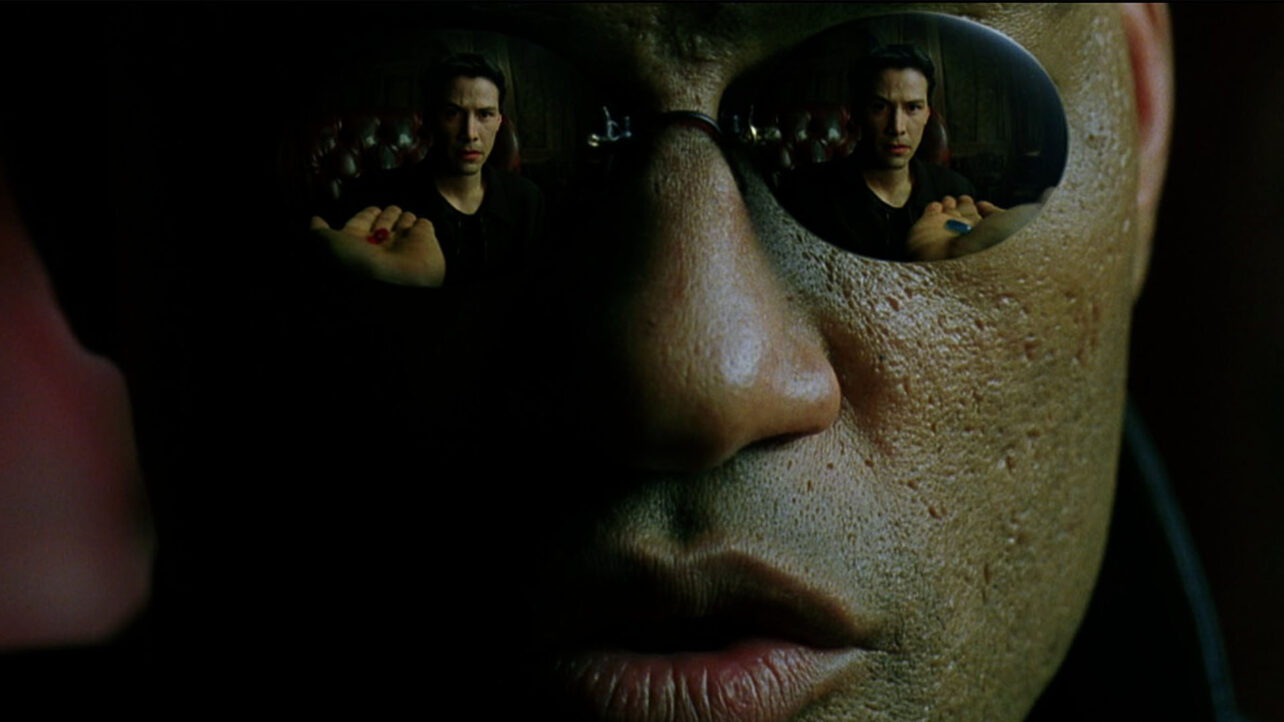
In The Matrix, Morpheus presents Neo with two options: he can either choose the blue pill, leading to the end of their conversation and Neo awakening with the belief that everything was merely a dream, or he can opt for the red pill and uncover the true depths of the rabbit hole.
This iconic scene is notable for its captivating composition, particularly the framing of the shot that reveals the reflection of both pills in Morpheus’ sunglasses. While there are various techniques to achieve this reflection during filming, let’s explore the most straightforward and most effective approach: creating the reflection in post-production.

Please note that this technique is designed explicitly for stationary shots featuring subjects in a medium to close-up framing. For more complex scenarios, alternative approaches may be necessary. Additionally, it is crucial to capture the reverse shot using a wide-angle lens—preferably as wide as possible. Due to the convex nature of lenses, a slight distortion of the reflection is required. The wider the image, the more authentic the reflection will appear.
Ideally, starting with empty frames allows for creating the reflective surface from scratch, simplifying the process. However, if a reflection is present, it can be utilized advantageously by employing blend modes.
Step 1: New Composition
In Adobe After Effects, create a new composition and bring your sunglasses footage into the timeline.

Step 2: Placement
Next, import your reflection footage into the composition and decrease its size until it fits proportionally over one of the eyes. Continue adjusting the scale until you are satisfied with the size in relation to the lens. Once this is done, duplicate the reflection layer but keep the duplicate layer hidden for now.

Lower the opacity of the reflection layer 1 to 1-10%, and with the pen tool, draw around the inside of the sunglasses frame (make sure you are still working with the reflection layer).

Now, activate reflection layer 2 and position it over the second frame accordingly. Unlike the scene in The Matrix, we don’t want the reflections to appear identical as it would lack realism. There should be a slight offset between both lenses to achieve a more natural effect. Adjust the position of the reflecting layer slightly, ensuring that the furthest object from the first layer is just slightly out of frame in the second layer. To soften the transition between the layers, press F to display the mask feathering options and set it to a value of 2-3.
Step 3: Transforming the Reflective Layer into a Lens
Restoring the opacity to 100%, you’ll notice that the reflection doesn’t appear quite convincing yet. While it might be somewhat acceptable for a still image, it falls short in motion. To enhance the realism of the reflection, apply a bulge effect and increase both the horizontal and vertical radius until it fills the entire frame of the sunglasses.

To replicate the natural convex shape of the lens and the frame, it’s important to note that the outer area of the lens will appear slightly darker than the middle. To achieve this effect, apply a CC Vignette. Since the affected area is relatively small, you can significantly increase the vignette amount without compromising the overall effect. In this case, I recommend setting the vignette amount to 500 or higher.

Currently, the reflection appears too bright, so we will introduce an exposure effect and reduce it slightly. Keep in mind that only a minor adjustment is necessary. The frame is becoming more realistic, but there is room for improvement. Realistically, the image in the reflection would be less sharp as we focus on the subject. To achieve this softening effect, apply a Gaussian blur with a value ranging from 5 to 7.
Now, the composition is considerably more authentic. However, since we are working with a reflection within pre-existing sunglasses, we can take it further and blend them. Doing so can also capture the underlying image data beneath the sunglasses. In this case, we can faintly discern the woman’s eye. Additionally, we retain some of the original reflection. Set the blend mode to screen and reduce the opacity to a range of 60% to 70%. Rest assured, at this scale and with the enhanced reflection, the impact will be minimal.

Step 4: Track Movement
The reflection now looks very realistic, almost as if it were part of the scene. However, we have to implement tracking.
Double-click your footage and open the tracker window. You must select track motion, create a tracking point for the position and scale, and place them on either side of the frame.

Next, create a null layer, edit the target to the null, and select apply. Finally, parent the reflection layer to the null object.
At this stage, you should have successfully tracked the reflection. However, if your actor turns or obstructs the sunglasses at any moment, you must manually adjust the mask through keyframing. Regrettably, this is a meticulous process that cannot be avoided.
The Result
Feel free to experiment with various blend modes to discover the one that suits your shot best. In my case, since the initial reflection was not very prominent, I was able to leverage it to my advantage. However, if the reflection in your shot is more noticeable, follow the aforementioned steps but add a solid black layer beneath your reflection footage (using the same mask and tracking). This additional layer helps enhance the visibility of the reflection while maintaining its realism.
Top image via The Matrix.
For more on After Effects, check out these articles: