In the past, stock footage was commonly associated with generic scenes of corporate office workers and happy families having dinner. However, there has been a notable shift in the past decade as numerous companies strive to redefine this perception by offering a broader range of cinematic stock footage. They utilize the same high-quality cameras used in film and television production. For instance, if you require stock footage of an astronaut walking on Mars, shot with a RED Epic camera at 8K resolution and downscaled to 4K, it’s easily found on most stock libraries in 2023.
While stock footage is a valuable resource for high-end productions, it also proves to be an invaluable tool for smaller, do-it-yourself projects. Obtaining aerial footage of a distant location or capturing a tracking shot in a facility well outside of the clearance you can obtain provides numerous storytelling opportunities.
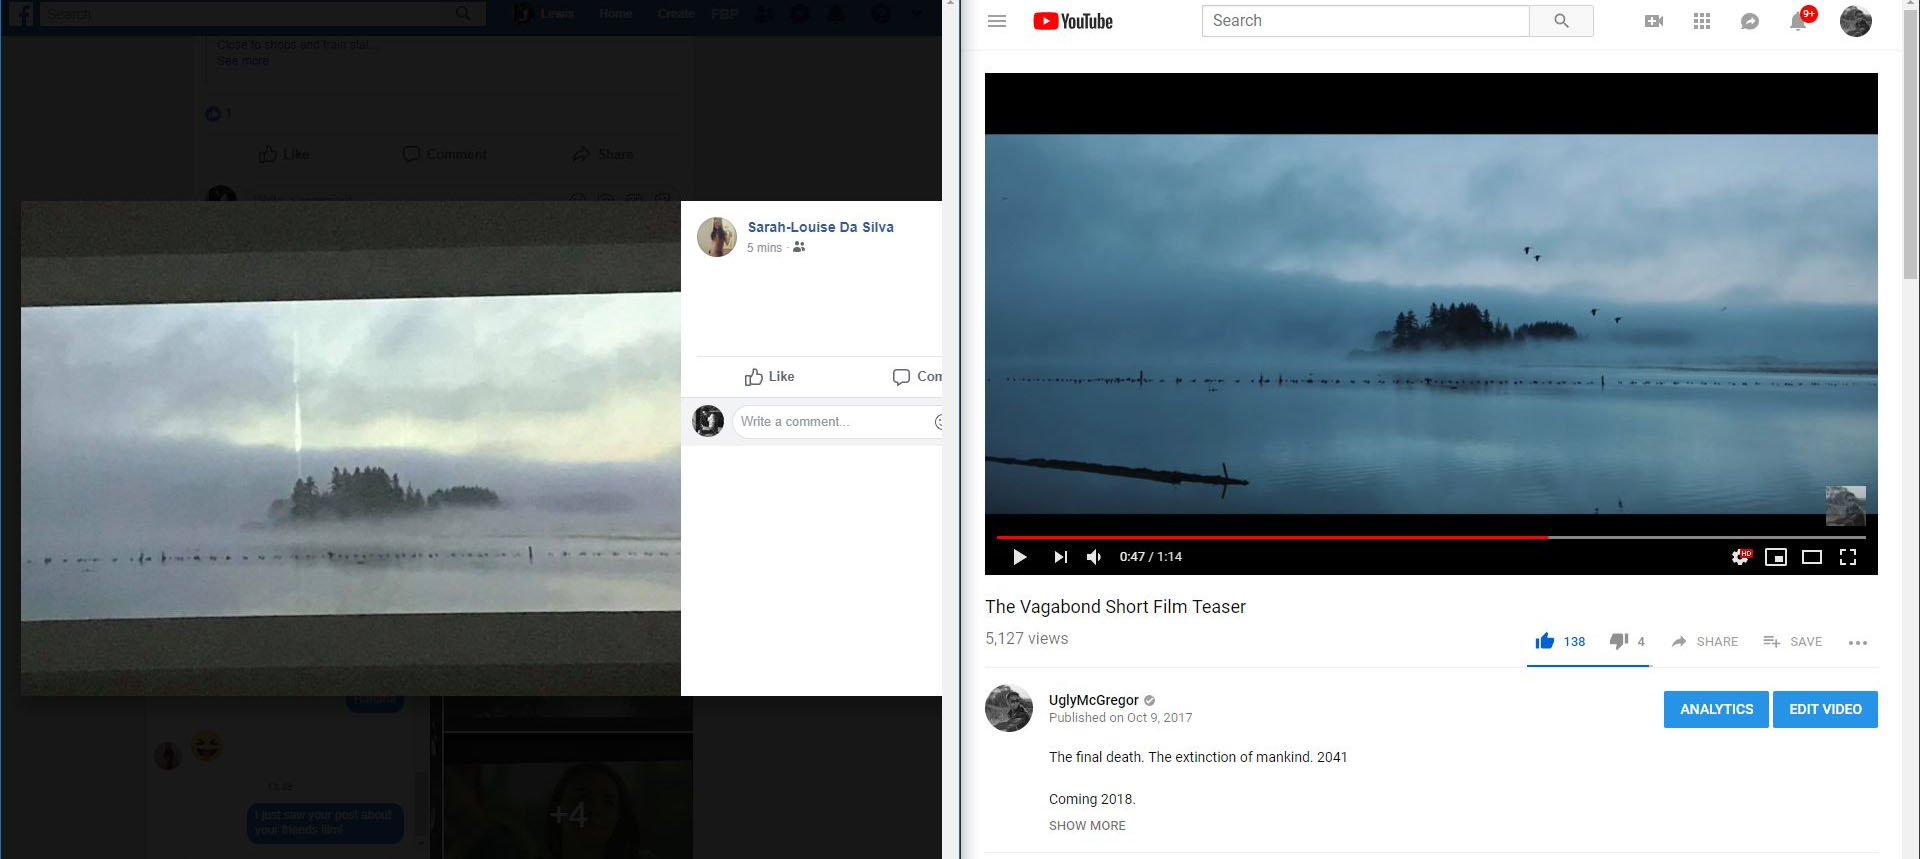
However, there remains a possibility that someone, somewhere, may have acquired the exact clip you are using, resulting in an unfortunate coincidence. Although the likelihood of this happening is slim, it recently occurred in my experience. A close friend of mine directed an independent feature film, and an actress I know attended its first screening. She shared a few photos from the event, and initially, I was puzzled as to why she had also included a still from the teaser of a web series I am currently working on. Then it dawned on me: we used duplicate stock footage. Suddenly, the uniqueness of my teaser trailer diminished.
With the increasing affordability of 4K stock footage and even the availability of free options, the chances of encountering such coincidences are rising. As a result, it becomes essential to explore post-production techniques that allow you to manipulate stock footage and distinguish it from the original download. To assist you in this endeavor, I have compiled a collection of diverse video tutorials specifically centered around enhancing landscape stock footage. These tutorials will provide the necessary guidance to differentiate your footage effectively and simplify the process.
Reverse and Flip Footage
Difficulty: Basic
To begin, let’s address the most straightforward approach. Reversing the speed or flipping the stock footage horizontally can be a simple and efficient way to introduce slight variations compared to the original media clip.
However, it’s essential to consider the limitations imposed by the footage itself. When dealing with landscapes, reversing the speed may not be suitable if wildlife elements are running or flying through the frame. However, for aerial shots capturing mountains, this technique can provide a fresh perspective and transform the image effectively.
3D Set Extension/Matte Painting
Difficulty: Advanced
Although the term “3D set extension” may sound like a relatively recent technique, the practice of extending studio space with matte paintings has been a staple in the film industry for many decades. Its origins can be traced back to the film “Missions of California” in 1907.
This technique involves expanding a location’s boundaries, whether on a sound stage or in real-world settings. It is worth noting that there is a common misconception that 3D set extensions are primarily employed in science fiction and fantasy films. However, you would be surprised to discover how frequently this technique is utilized to subtly alter the background of various locations, as you can see below in before-and-after stills from Joe Penhall‘s Mindhunter.
Before:

After:

Incorporating a 3D set extension is a highly effective method for transforming the visual appearance of stock footage, albeit requiring some expertise in compositing. It is crucial to acknowledge that compositing becomes inherently more challenging when working with stock footage that involves camera movement. However, it is by no means an impossible task.
Despite being slightly dated, Andrew Kramer’s tutorial on 3D set extensions is an excellent example. In the tutorial, he manipulates stock footage, demonstrating how much stock footage can be customized and personalized to suit your needs.
Sky Replacement and Weather Changes
Difficulty: Intermediate
Even those just starting their journey in filmmaking or photography understand the significant impact the sky and its cloud formations can have on a scene. The presence of gray, menacing clouds can create a dramatic and intense atmosphere, while a cloudless sky during golden hour can evoke warmth and romance.
By replacing the sky in your stock footage, you have the power to create a distinctive mood that sets it apart from the original footage. However, it’s essential to consider the limitations imposed by the original footage. If harsh shadows and brightly lit foliage exist, replacing the sky with a dark and dramatic cloud formation might appear out of place.
Additionally, altering the weather dynamics, such as transforming an early-morning forest into an eerie, foggy evening, can completely change the atmosphere of the entire scene. In the tutorial below, Lendon Bracewell comprehensively explains how to incorporate atmospheric elements into your location using After Effects. This tutorial will guide you through adding the desired weather effects and enhancing the overall ambiance of your footage.
Digital Props and Set Dressing
Difficulty: Advanced
Suppose you love to watch visual effects reels. In that case, you’re probably familiar with the montage of props and scene objects falling from the top of the frame, completely altering the location’s environment. In the following images from Stargate Studios’ work on the first season of The Walking Dead (video reel here), you can see just how different the location looks with the addition of the barrels and debris.
Before

After

Adding elements can be relatively straightforward if the stock footage clip you’re working with has minimal movement. However, when dealing with stock footage that includes movement, the added props or objects will need to be in 3D to account for changes in reflective lighting. This requires a slightly different approach. It may involve creating and masking the desired features in Photoshop, then tracking and integrating them into the scene using After Effects.
For this purpose, Video Copilot offers a recommended technique for incorporating a 3D object into a shot. In the tutorial provided by Andrew, he demonstrates the process of compositing a truck, but the same method can be applied to most set-dressing scenarios. This tutorial will guide you through the steps required to seamlessly integrate 3D objects into your footage.
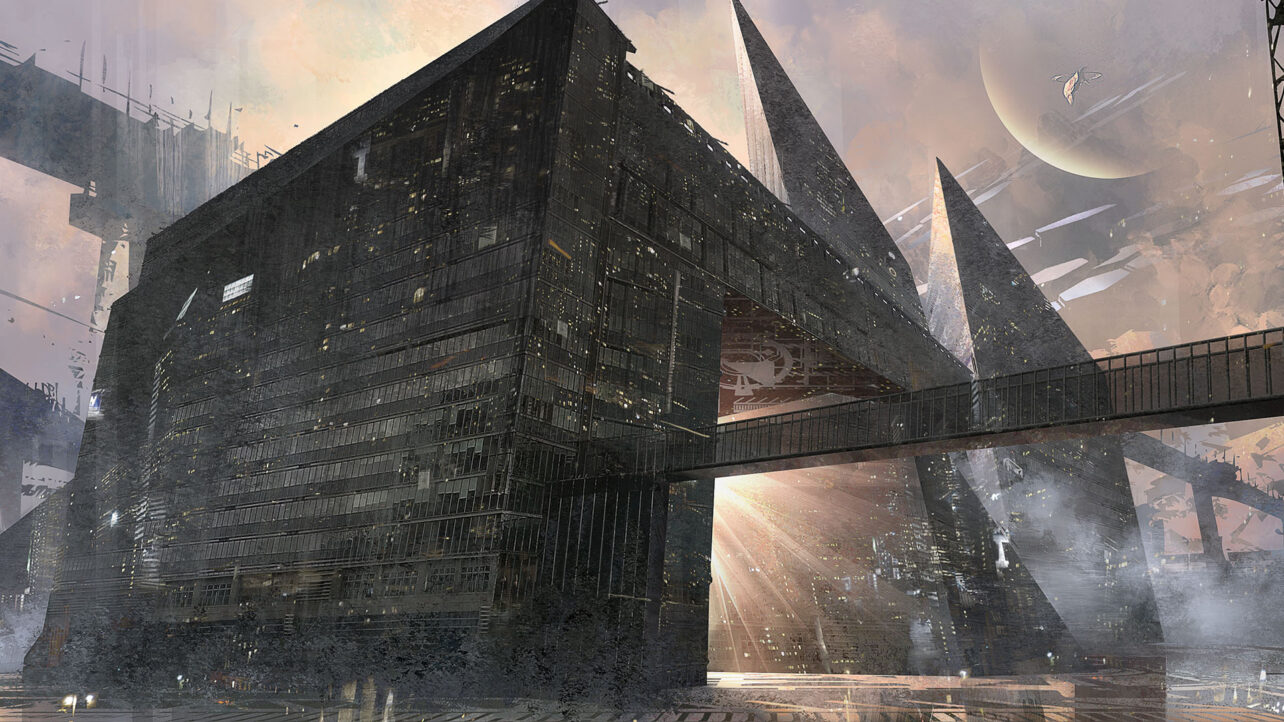
Cover image via camilkuo.
Are you looking for more tutorials? Check these out.