
If you were to browse the YouTube recommend settings page, you would see that their recommended codec is H.264. This is a widely-used codec known for its high compression efficiency and good quality. For the majority of exports, especially for online consumption, H.264 is an excellent codec to use. However, it does have its issues when it comes to gradients.
For example, like many, I like to film at golden hour, and when filming a beautiful seascape, you’ll often find that the sky is filled with these beautiful gradients, from deep blue to golden yellow.
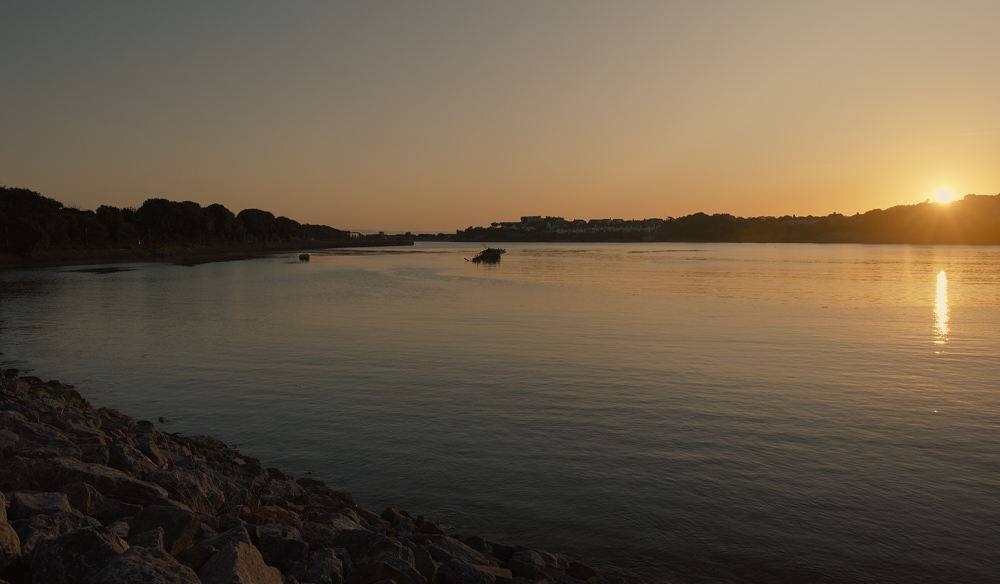
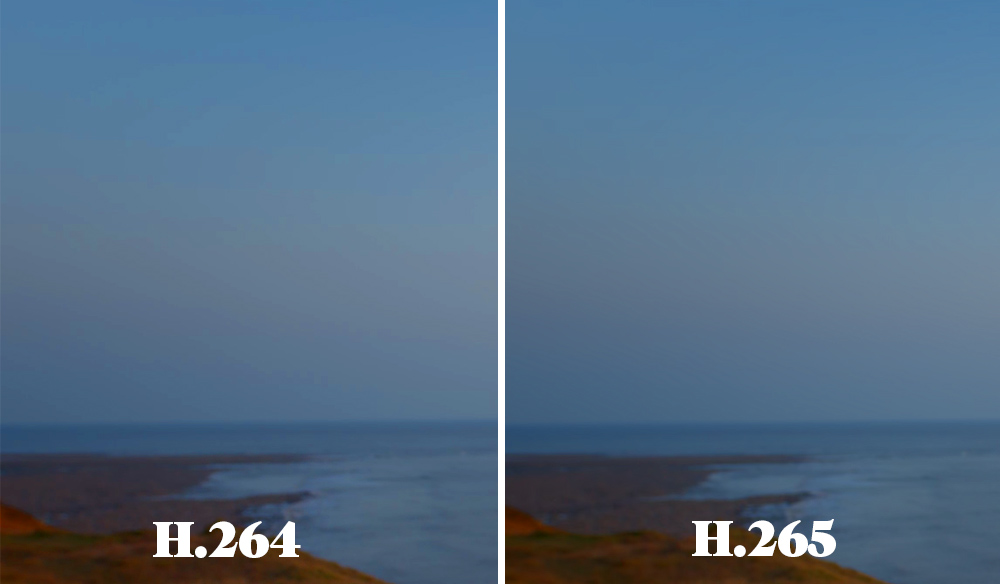
Filming at 10-bit or 12-bit RAW keeps this colour blends nice and smooth. The issue is that when I export at H.264, the 8-bit codec cannot contain the colour information throughout the gradient, and instead, we get this colour banding.
In the example above, we can see that instead of smoothly blending from one hue to the next, the colours are distinctively separate and are more visible as individual streaks (also noticeable on the cover photo).
What Is Colour Banding?
Colour banding is a visual artefact that occurs in videos (and digital images) when there are not enough colours or shades to accurately represent an image’s colour palette. While this can happen when the image is saved in a low-quality format, it’s more typically present with insufficient colour depth.
You won’t find colour banding in every composition; however, when your image has areas of graduated colours, you will tend to see visible stepping or banding rather than a smooth transition.

How To Fix Colour Banding?
Now, let’s get practical. Often, this banding isn’t noticeable to anyone outside of filmmaking. But to us, as filmmakers and editors, it can be a visual detriment, especially if you’ve paid so much money for your camera.
Additionally, as people have different monitors with various colour depths, contrast ratios, and monitor angles, the banding may be more pronounced on someone else’s screen. Hence, it’s best to have it gone.
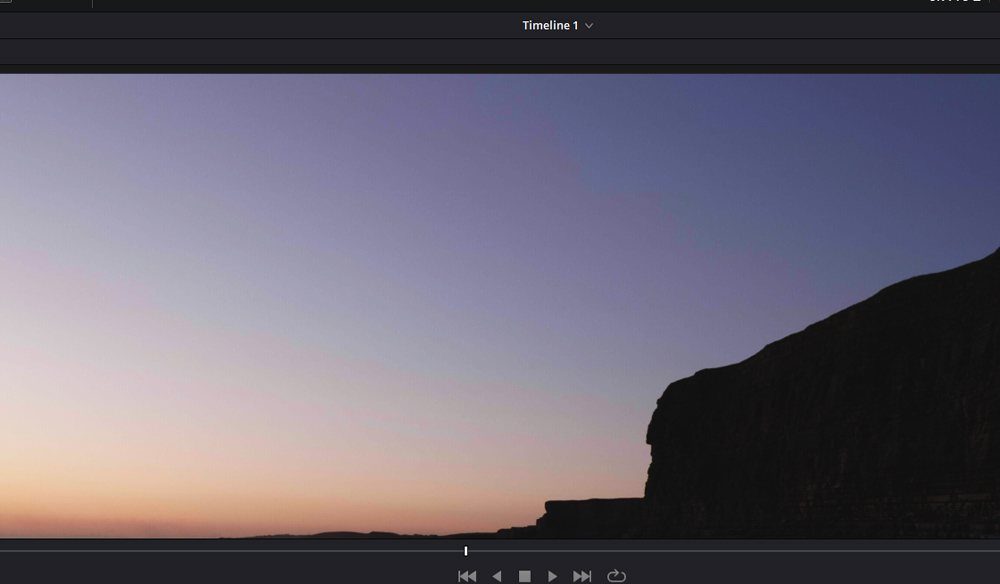
To check how pronounced the banding is, go into Resolve, take both the RAW clip and the H.264 clip, and increase the contrast.

Even though the image is destroyed on the raw clip, you’ll see that the colours still blend somewhat smoothly.
On the H.264 clip, we can see the banding in effect, especially in the top left of the image, where the gradient is most visible.
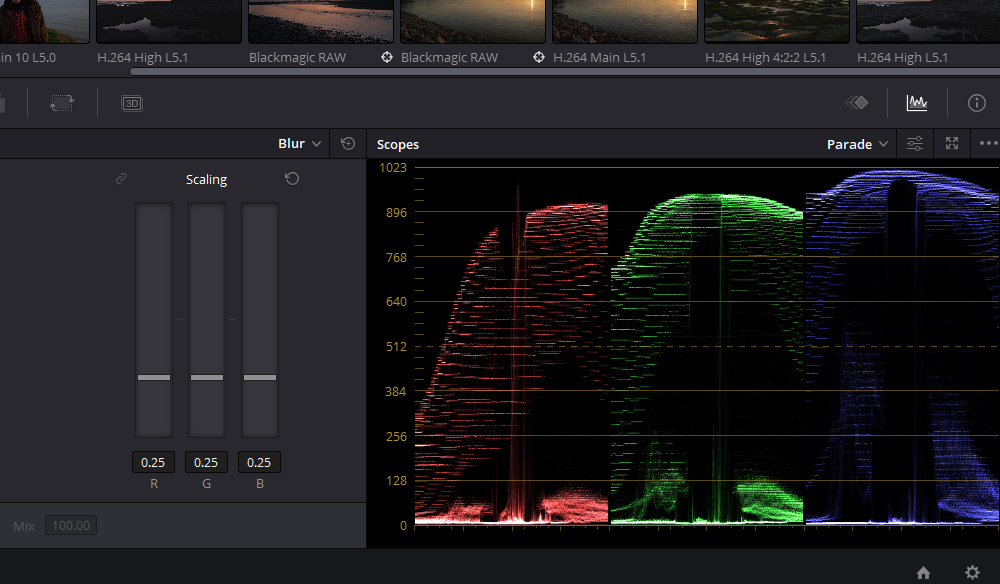
Additionally, you can also see the banding on the scopes.
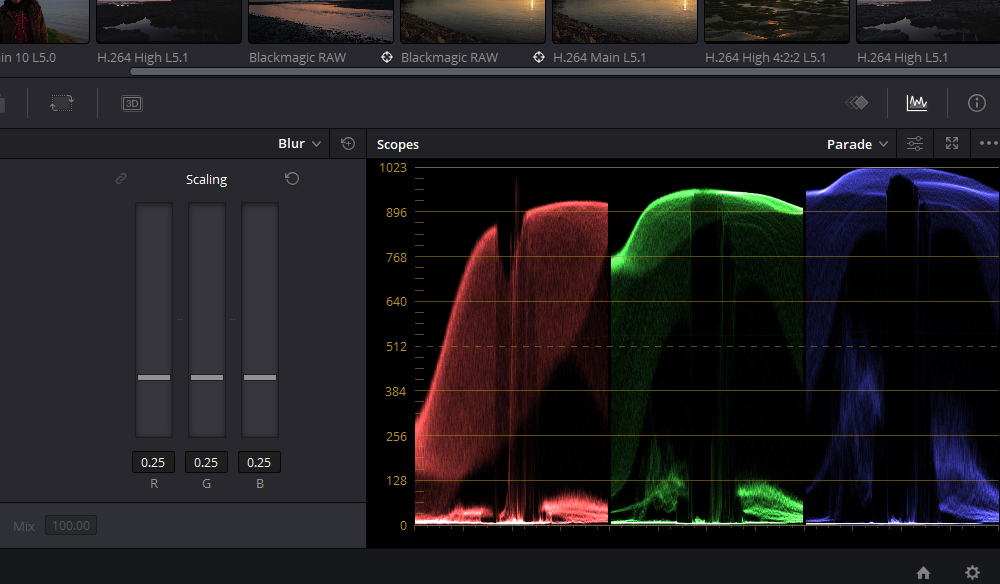
In this shot from the Blackmagic 6k, we can see information on the RGB parade is very tight.
However, the parade shows scattered information when we flick the H.264 clip.
What Settings To Use To Render Banding Free
Running through the list of formats and codecs can quickly send one back to comprehensive school maths class; it can get confusing. Additionally, not all of the formats available are accepted by online platforms. Well, in just a few steps, this is how you get 10-bit internet-friendly exports. And we will do that by using the successor to H.264, H.265. But there are a few things we have to adjust.
So, we’re on windows; we can’t export at ProRes 10 bit; what can we do in Resolve?
First, you will have to use Quicktime as the format; MP4 doesn’t show the 10-bit profile. Then go to H.265, which is widely accepted by many online platforms; YouTube is one of them. Then we’re going to go to the encoding profile and select Main10. It doesn’t say 10bit, but this is the 10bit profile. It will compress your footage with a bit depth of 10-bits per channel.
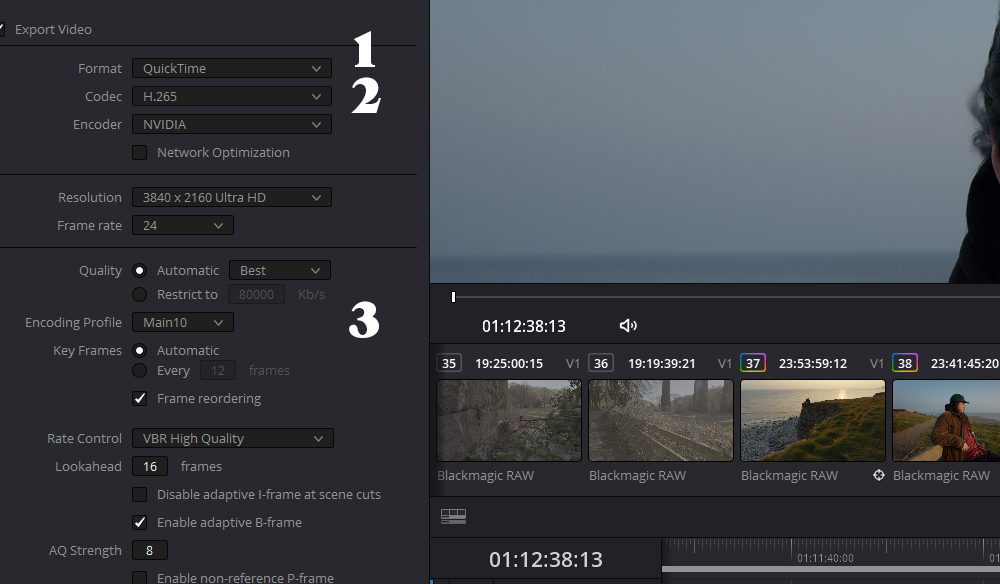
It doesn’t say 10-bit, but this is the 10-bit profile. Now when we look at our video with gradient skies, there will be no visible banding. However, it should be noted that this isn’t helpful if you have filmed with a camera that only shoots 8 bits per channel. But for those who have filmed with the Blackmagic Pocket Cinema Camera, for example, you’ll retain those beautiful skies with no visible detriments.
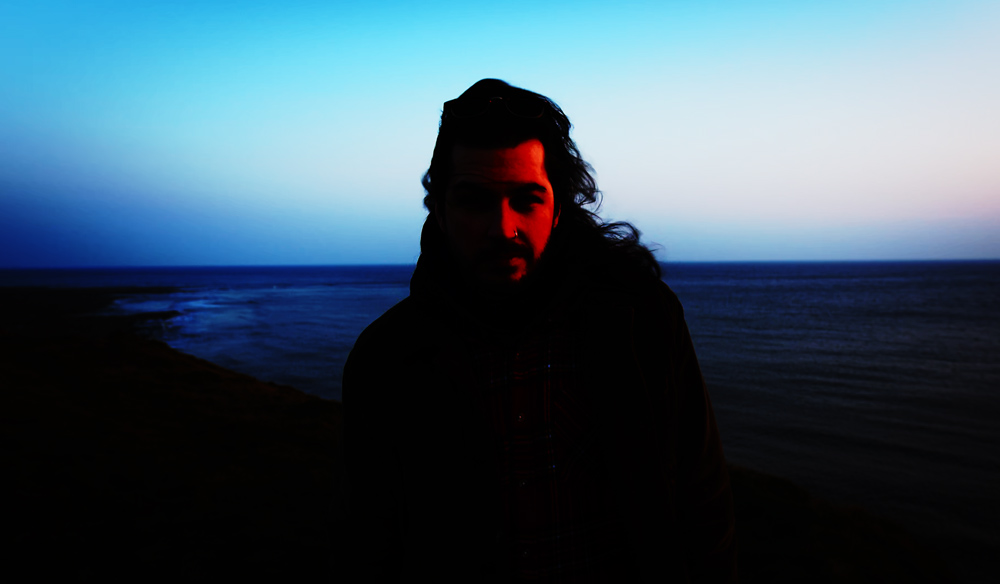
And if we go back to the example image example used earlier, we can see that the 10bit render holds up very nicely. While it isn’t as smooth as the 12-bit RAW file, it’s significantly better than the 8-bit H.264 render.
For more on editing, check out these articles: