Are you looking to upgrade your at-home edit suite with a new monitor? Choosing the right monitor can be daunting, given the plethora of options available, including 1080p, 1440p, 4k, and even 8k monitors currently on the market. With varying sizes and features such as refresh rate, low blue light, HDR, freesync, and more, it can be overwhelming to select the ideal monitor. However, colour representation and accuracy are crucial for content creation as a creative professional.
Today, we will explore the importance of calibrating your monitor and the methods to do so for designers, photographers, and filmmakers accurately.
Why is Colour Calibration Important?
When mixing your audio, it is recommended to listen back to your mix on various audio devices.
This is because different audio devices have different frequency responses and sonic characteristics that can affect how your mix sounds. For example, headphones tend to emphasize specific frequencies, while speakers in a room can be affected by the space’s acoustics.
We can think of calibrating your monitor as a process within the same realm. Calibrating your monitor is adjusting its settings to display colours and tones accurately. It involves changing the monitor’s brightness, contrast, colour temperature, and other locations to ensure that the colours you see on your screen are true to life.
“So, you’re saying my monitor isn’t showing the correct colours?”
Well, there is a possibility. See, the way that a monitor displays colour is determined by its colour gamut, which refers to the range of colours that a monitor can display. Different monitors can have different colour gamuts, which means that they may be able to display specific colours more accurately or vibrantly than others.
In addition to the colour gamut, other factors that can affect how a monitor displays colour include the backlight, the type of display technology (such as LCD or OLED), the resolution, and the calibration settings. For example, a poorly calibrated white balance monitor may display colours with a yellow or blue tint.
Manufacturers also sometimes intentionally adjust the colour output of their monitors to achieve a particular look or aesthetic. For example, some monitors are designed to display colours with a warmer or cooler tint to give images a specific feel.
Having this knowledge, it becomes clear that colour accuracy is crucial for producing high-quality results in various creative endeavours, such as designing a logo for a new brand, editing a beautiful landscape photo, or creating a promotional video showcasing a product. Since every screen on the market outputs images differently, an image displayed on a monitor that is either incorrectly calibrated or not calibrated at all can result in inconsistencies in sharpness, contrast, and skin tones.
If you work in digital media or content creation, and it is your primary source of income, or you value accurate colours on your screen, calibrating your monitor every few weeks should be a top priority. If you sell prints of your work, spending hours on a project only to have it look terrible on a mobile phone screen, projector, or someone else’s monitor, or even worse, when printed physically, can be disheartening.
How Do I Calibrate My Screen?
Suppose you’ve ever explored the world of grading monitors on online marketplaces such as B&H or CVP. In that case, you’ll quickly discover that these monitors can be just as expensive, if not more so, than the latest cinema cameras from Canon. However, if your goal is not to become a professional colourist, there may not be an immediate need to invest in a professional, calibrated monitor. Nonetheless, avoiding using a monitor that produces highly inaccurate results is essential. In such cases, calibration tools can be beneficial.
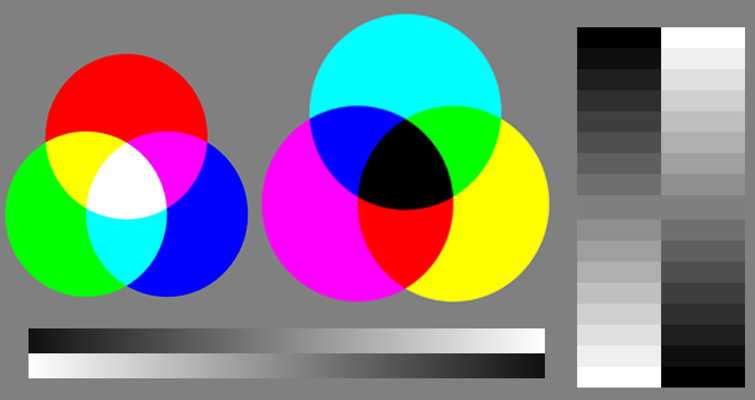
Both Windows and Mac operating systems come with built-in calibration tools. These tools allow you to adjust brightness, test screen colours, correct contrast levels, and more. Various online testing sites provide simple instructions for visually calibrating your monitor with tests displayed on the screen.
While these online tools can be a good initial choice, they have a significant limitation – your vision. How we see colours differs from person to person and is influenced by factors such as the lighting in our environment, age, whether we wear corrective lenses, our level of fatigue, and other variables. Even if you use these online tools to calibrate your monitor, it may not be the most precise approach. It could provide a temporary solution and enhance the quality of your display, but it may not be entirely accurate.
As such, it may be better to acquire a calibration kit.
Calibration Kits
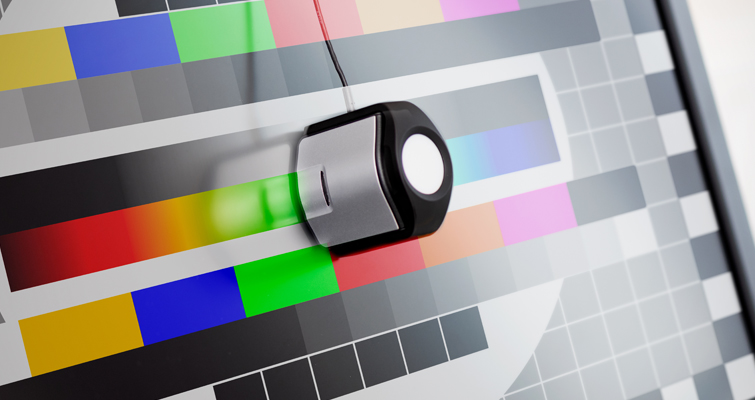
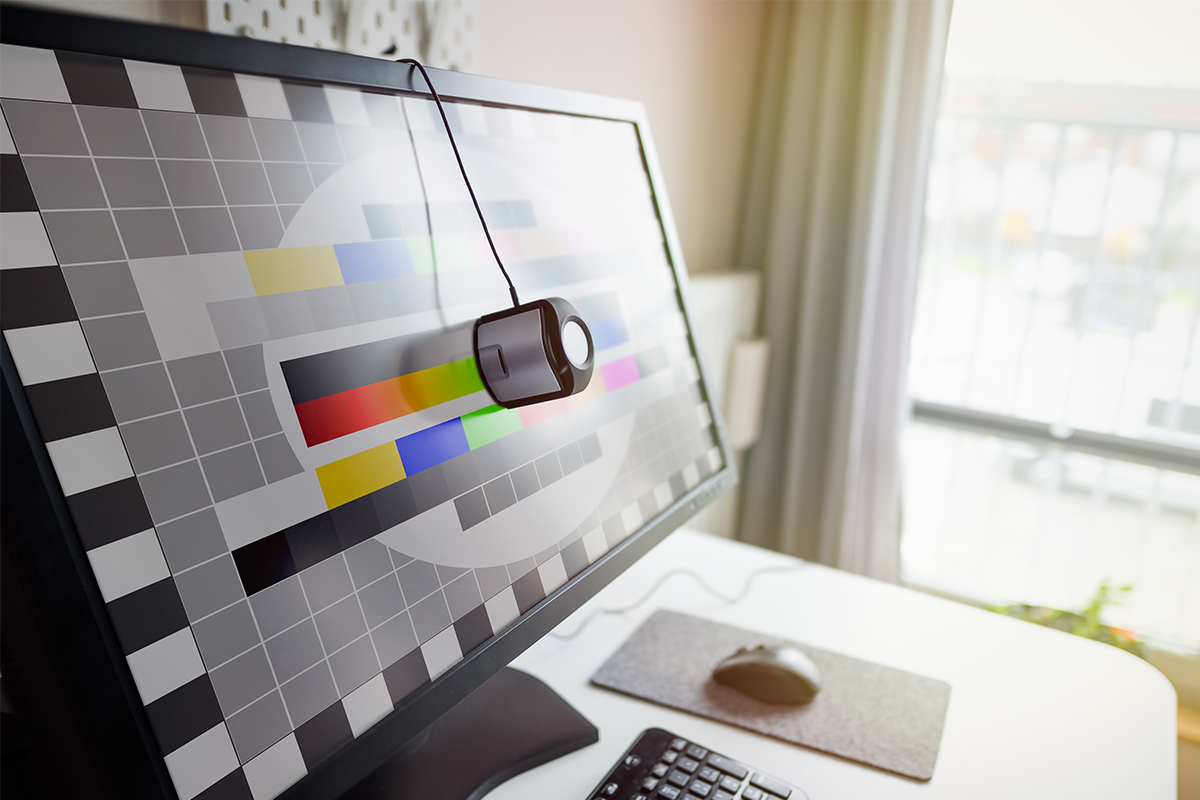
Investing in a calibration kit is wise for those who take their work seriously. These kits utilize a spectrometer or colourimeter placed on your monitor and connected to your PC via USB. By taking readings from the screen, the equipment can measure gamma levels, brightness levels, contrast, and colours and generate an optimal preset of settings that eliminate over-saturation of colours or other factors that may impact the accuracy of your monitor.
Suppose your monitor has LUTs (look-up tables) built in. In that case, the information will be automatically stored on the monitor itself, saving you the trouble of navigating various menus to get the correct settings. Although these kits are expensive, they are a worthwhile investment for professionals who aim to create and produce high-quality, accurate representations of colour in their work.
Professional photo labs calibrate their monitors every week for consistency and accuracy when printing large, canvas-like prints. For everyone else, it’s ideal for performing a calibration check once a month to ensure optimal results.
Is My Monitor Good Enough?
Whether or not you need to upgrade your monitor depends on what you’re currently using. You can compare your current monitor to a calibration you’ve done online or via a calibration kit to see if there’s a difference. If you’re satisfied with any improvement, then congratulations, your monitor is good enough. But if you’re still unsatisfied, then it may be time to consider an upgrade.
You’ve already invested money in your work, including lenses, camera bodies, and accessories. It’s also essential to invest in your monitor and workstation. After all, you don’t want to capture stunning photos or videos for your clients only to edit them on an uncalibrated monitor or TV from the last decade. Monitors can be expensive, depending on their size and screen type, but they are one of the most crucial tools for content creation. It’s an investment in your hobby or profession that will pay for itself over time.
Avoid using a laptop to edit your work, as laptops often have cheap and inaccurately calibrated screens, which isn’t ideal for accurately representing your work or for print work.
Conclusion
To maintain an accurate representation of what your monitor is displaying, you should aim to calibrate your monitor at least once a month. After all, you wouldn’t want to present an unedited piece of work to someone, so why not ensure that your monitor accurately represents your work?
Investing 10 to 15 minutes monthly to use online tools or a calibration kit (if you’re serious about colour management) can help ensure your monitor accurately displays colours. It’s worth noting that the colours on the screen you’re currently using to read this may not be represented accurately.
For more articles on editing, check out these: