A common issue during the mixing stage is the presence of resonant frequencies. These frequencies can lead to problems such as excessive occupation of headroom, imbalance in the overall frequency range, and, quite frankly, an unpleasant listening experience. Here are some methods for identifying and suppressing these resonant frequencies to achieve a better-sounding mix.
What are Resonant Frequencies?
So, what exactly are resonant frequencies?
Acoustic resonance is a phenomenon that occurs when the amplitude of a produced sound wave matches that of another sound wave source. This can happen when the amplification system (monitor speakers) interacts with the natural frequencies of the room or when two different sources within the mix resonate at the same frequency. Think of it as a doubling effect that can increase both the amplitude and the tone.
As a result, there is a noticeable vibration, feedback, or buildup of that specific frequency.
When the natural frequencies of your room cause resonant frequencies, it becomes a physical issue that requires acoustic treatment, such as foam panels, to address. If the resonant frequencies are within your mix, it calls for fine-tuning within your tracks.
Whether it’s music production or field recordings, achieving a balanced overall frequency range is crucial for good audio quality. It ensures that no particular frequency area overpowers another. Resonance can hinder this balance and lower the audio quality.
Common Resonant Frequencies
Resonance in audio can manifest in various forms. Here are a few of the most common ones you’re likely to encounter when adjusting your mix.
Low-End Rumble (20Hz – 250Hz) can be heard as a humming sound resulting from excessive activity in the lower end of your mix. This resonance can be problematic for headroom, as it occupies too much space. It also diminishes the audio quality and weakens the mix. In mono playback, an excessive low end can lead to a loss of clarity in the mid to high end.
Notch Frequencies typically fall within the mid to higher range of the spectrum (up to 15kHz). A notch shape represents a narrow hill-like shape and is the most prominent resonance type within the mix. Resonances in the higher range can cause an unpleasant, harsh ringing sound.
How to Fix Resonant Frequencies
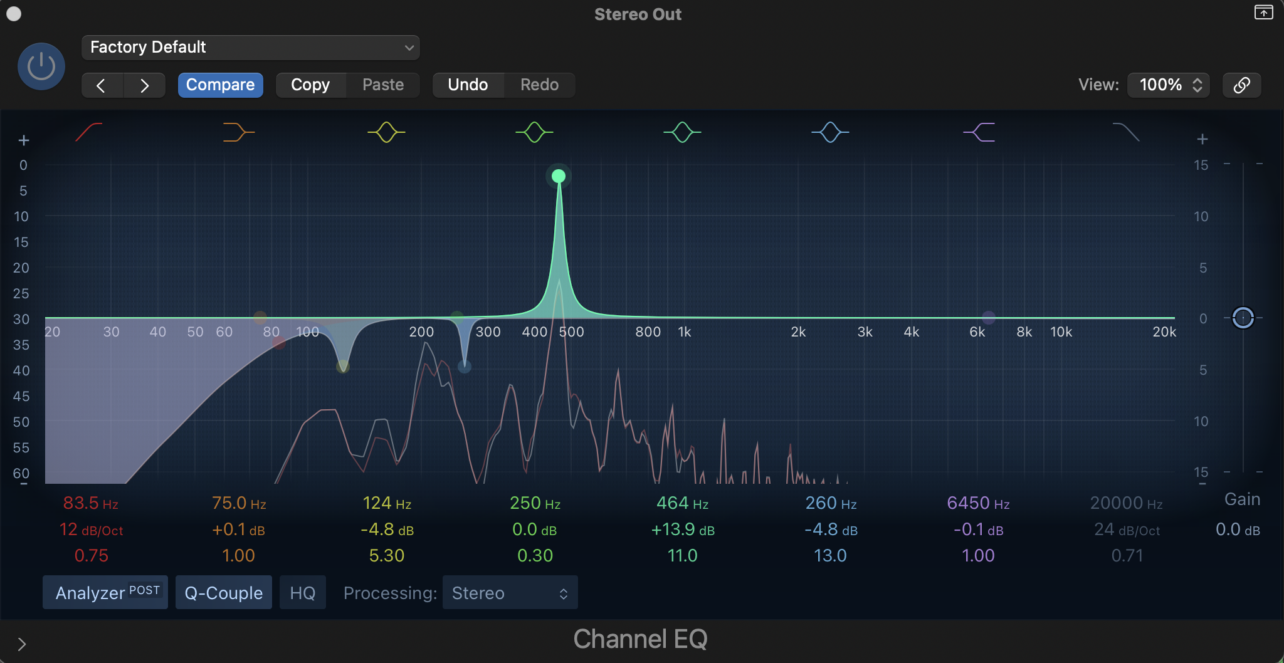
Once you have your track and reach the mixing stage, the first and most essential tool you’ll need is an equalizer, as we’ll use subtractive EQ.
Make sure to use a parametric equalizer that displays the frequency spectrum graphically and allows you to adjust individual nodes to locate the frequencies. Most digital audio workstations (DAWs) or nonlinear editors (NLEs) provide this feature, so there’s no need to purchase third-party software unless you desire higher-quality options. Stock plug-ins will suffice.
First, you need to identify the resonant frequencies.
Start with the low-end rumble, as it’s the easiest to address. Simply apply a high-pass filter between 20Hz and 250Hz. The exact frequency range will depend on your specific sounds, so it’s best to use good headphones and listen for the point where it attenuates the rumble just right. Start with an extreme setting, then dial it back until it sounds suitable.
Additionally, if you have a bass instrument or sound, consider placing it in mono to keep it centered and prevent it from spilling over the stereo field. You can then pan your other tracks around the center to create enough space for each element. Resonant frequencies can occur when different sound sources compete for space in the frequency spectrum, and panning can help reduce this issue.
Dealing with more specific frequencies, such as notch frequencies, is a slightly more challenging process. It requires precision and, most importantly, patience.
The first step is to use an equalizer and boost one of the nodes to around 15dB with a narrow Q bandwidth.
Solo the track you are working on and sweep through the frequency range until you hear a frequency that sounds out of place or too prominent. Once you’ve located it, bring the notch down to lower the gain. This reduction can be around -3dB, but it depends on the resonance of the frequency. Remember to use your ears, as there is no definitive correct answer.

Repeat this process until you are satisfied with the final result. It’s also advisable to check the master track after working on individual tracks. However, be careful not to overdo it, as this can result in the audio sounding too thin or hollow, leading to lower-quality sound.
Are There Easier Ways To Do This?
We live in an era where software is being developed to expedite time-consuming processes. Since identifying resonant frequencies can be a lengthy and tiresome task, there are plug-ins available that can accomplish this with a single click.
Plug-ins like Soothe 2 and Reso are well-known tools focusing specifically on resonant suppression. Powered by algorithms, they automatically identify problematic frequencies and attenuate them accordingly. These plug-ins provide a convenient alternative to manual frequency identification and adjustment.
That said, it’s important to note that the results may not always be perfect. You may need to make edits to achieve the desired sound.
How to Avoid Resonant Frequencies
The best way to try and avoid resonant frequencies is to carefully select the combination of sounds you want in your track. Multiple tracks with similar frequency ranges can create issues in the frequency spectrum, leading to resonances.
While resonances can sometimes help add shape and character to a mix, they can also become overpowering for the listener.
It’s easy to overlook the importance of the stereo field, but it can make a significant difference once you realize how much sonic space you have available. Ensure you have enough headroom in your mix and utilize panning to create space for the sounds. While this won’t magically eliminate resonances, it can provide breathing space for individual sounds.
For more on audio, check out these articles:
The Best Paid Plug-ins for Audio Editing in Ableton Live 11
The Best Free Plug-ins for Ableton Live 11 2023
The Most Common Audio Formats Explained: Which One to Choose?