Hologram’s Microcosm Pedal is one of the most beautiful sounding pedals on the market and can create luscious soundscapes through reverbs, delays, and sequences. But how do you rig it up to your audio interface? How do you use it as an external audio effect in your DAW? Here’s a little guide for those needing advice on using this pedal within Ableton Live 11.
After receiving my first pedal, the Microcosm, I couldn’t express the excitement of integrating it into my setup. However, some aren’t seasoned music producers and don’t have the luxury of owning an industry-standard setup or knowing everything about music production. As an avid Ableton user, hooking the Microcosm to Ableton Live via my audio interface wasn’t as easy as I thought. After browsing for answers and hitting many walls tirelessly, reaching out to peers alleviated the situation. Here’s a step-by-step guide for those who have just started and want to use a guitar pedal within their DAW setup.
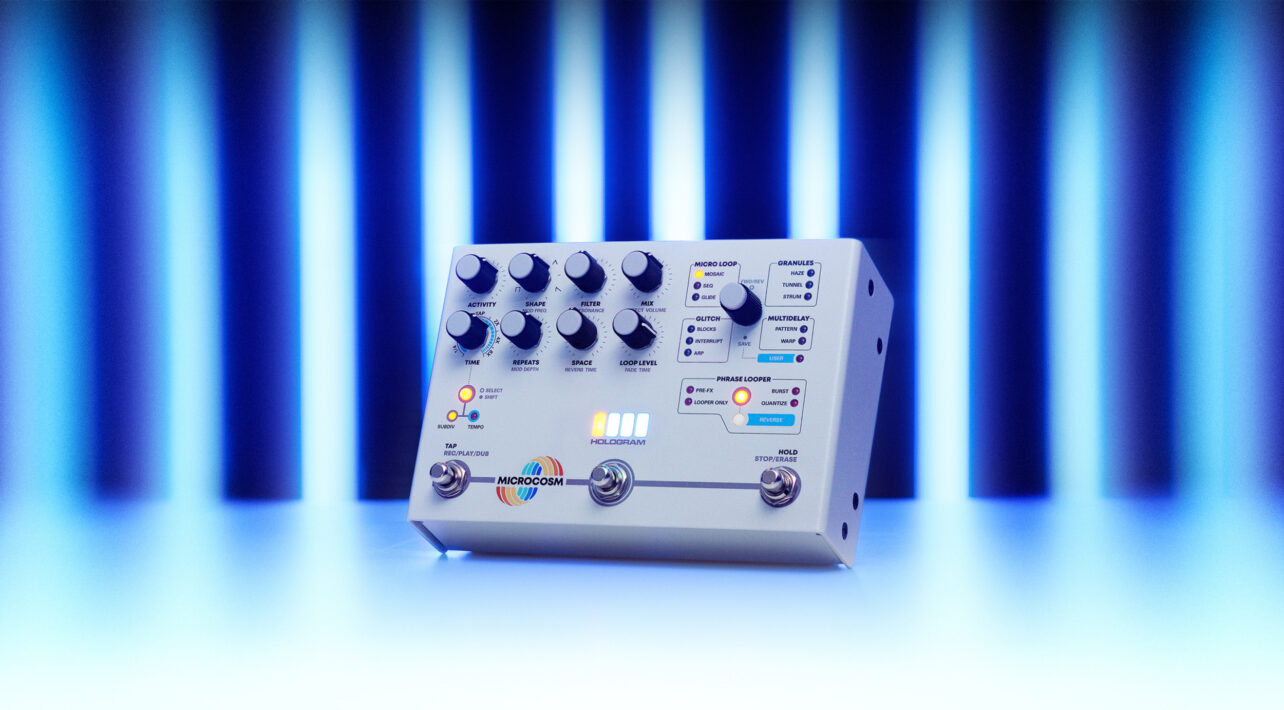
Microcosm by Hologram Electronics
Here is some brief information about this outstanding guitar pedal. Made by Hologram Electronics, the Microcosm is a granular looper and glitch pedal that brings magic to your instrument. Its power lies within its ability to rearrange and reinterpret the dry signals, transforming them into something exciting and creative using sampling, delay, looping, and glitch techniques.
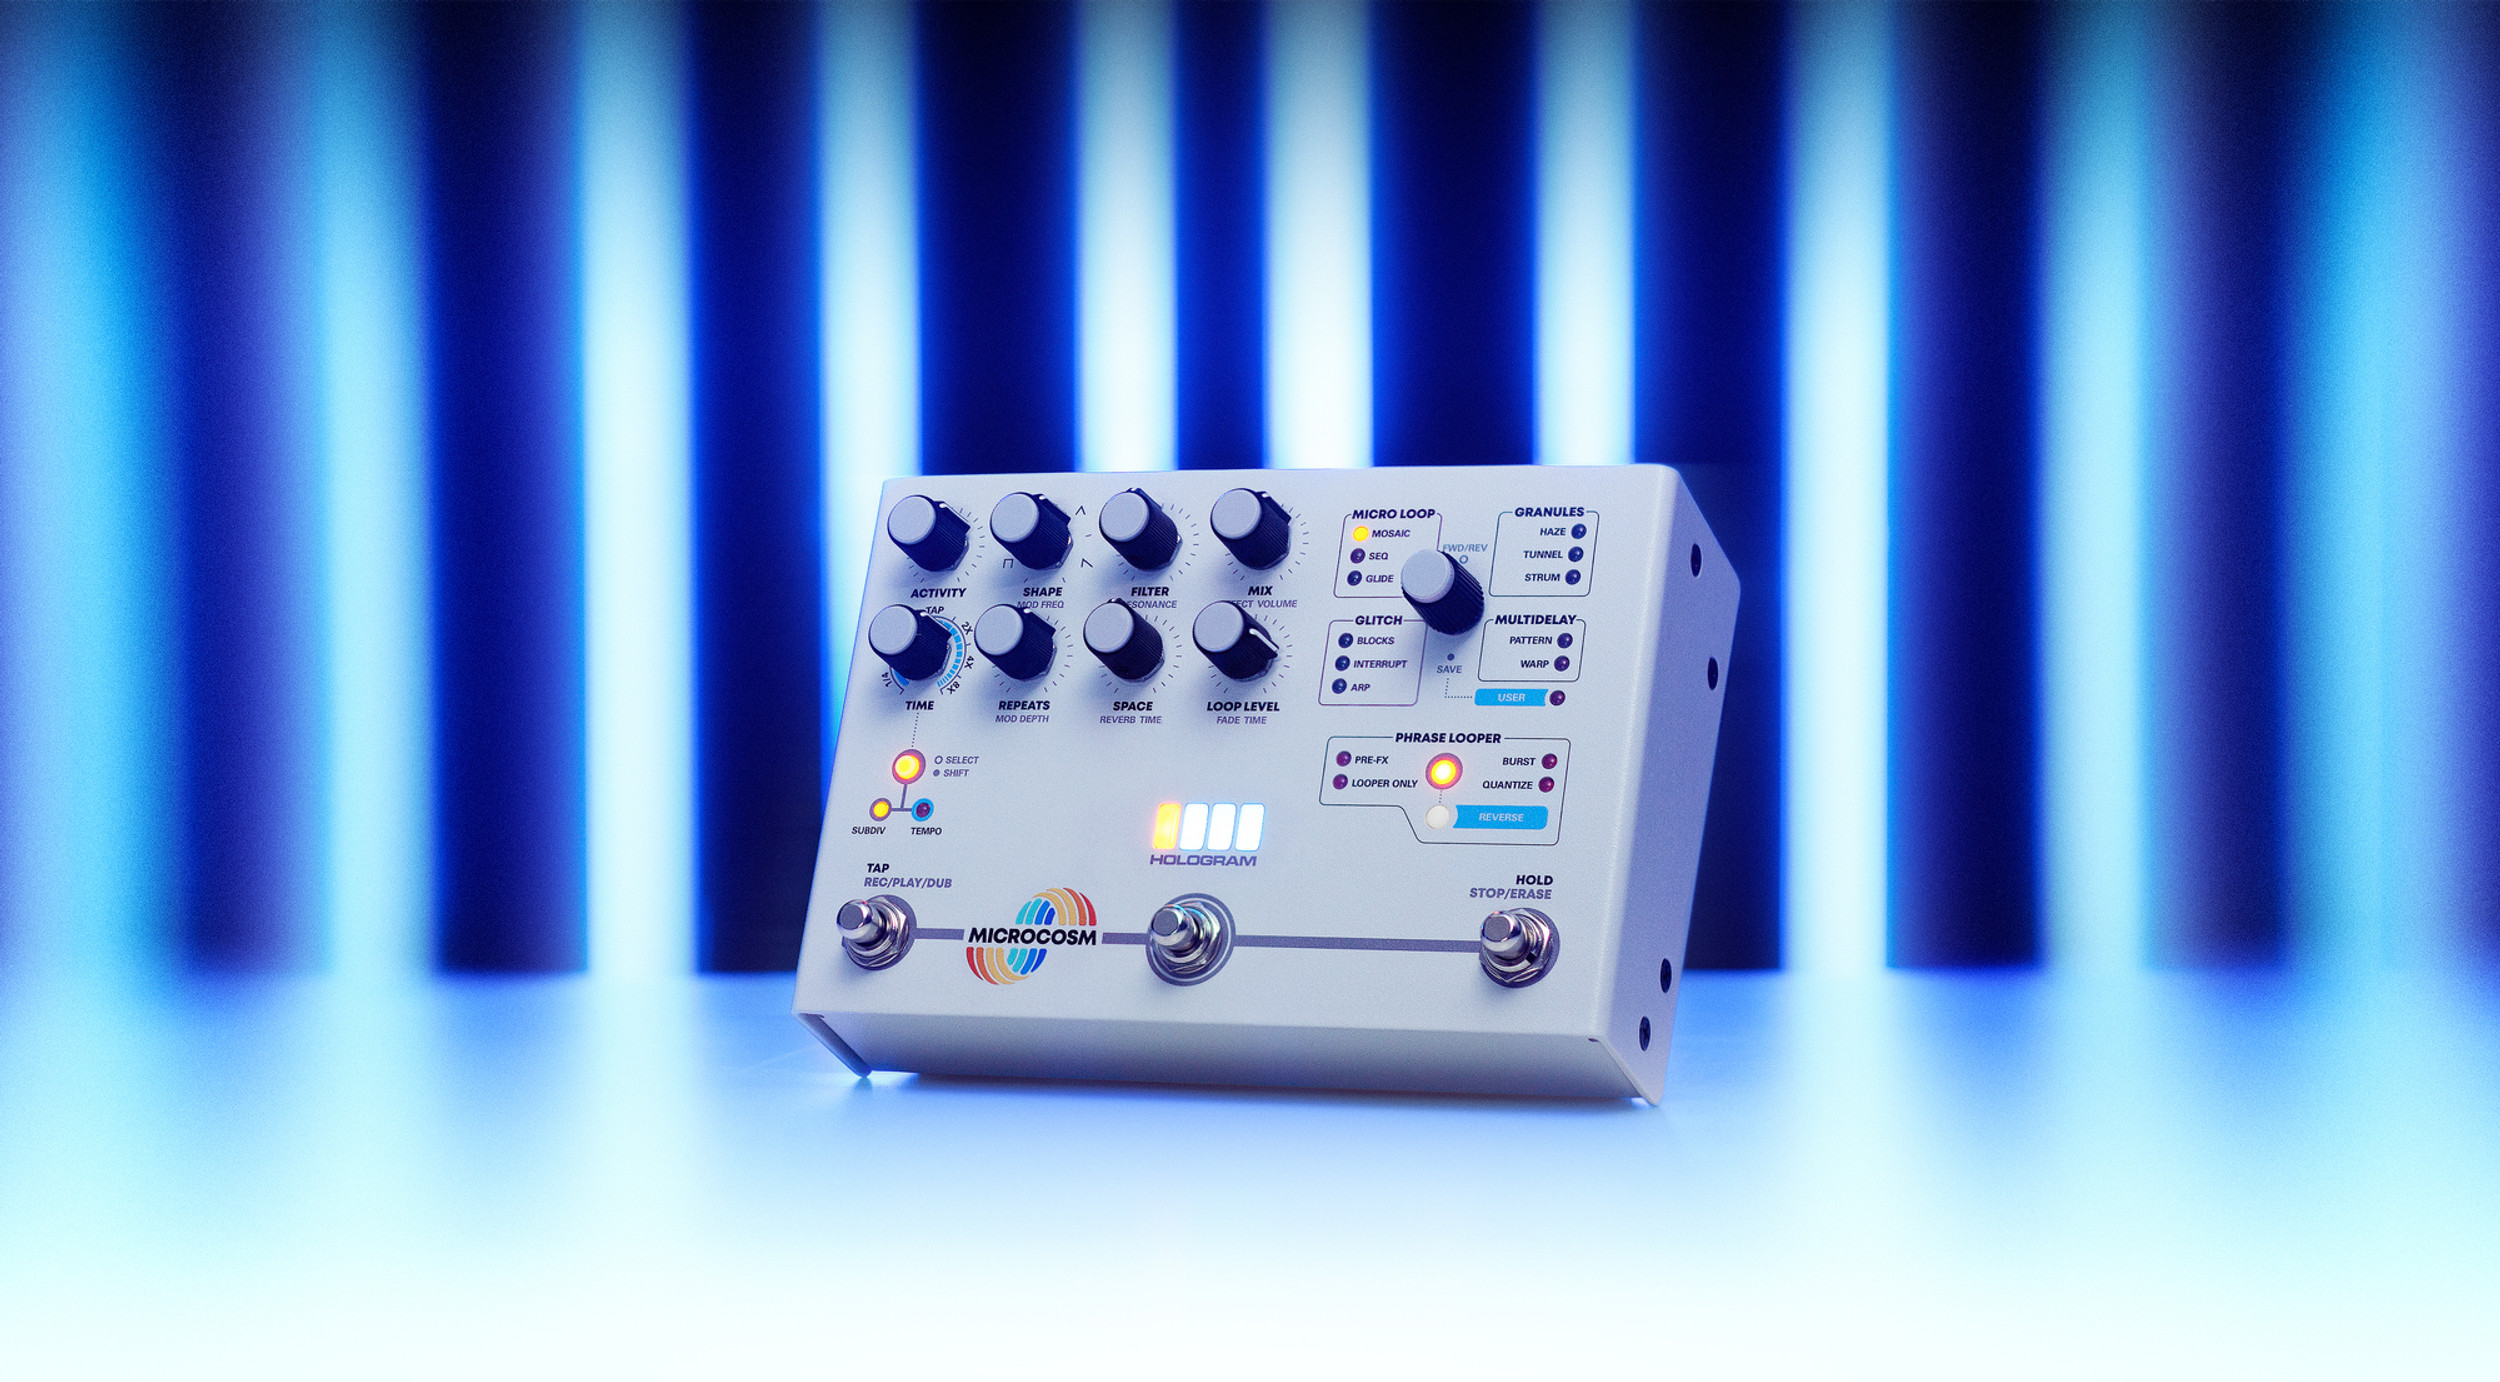
The Microcosm features 11 effects and 44 preset variations, offering methods to stretch, rearrange, and granulate your playing. With built-in modulation controls, exceptional reverbs, and a sonorous low-pass filter, it adds more depth and character to your sound. Additionally, the Microcosm includes a stereo phrase looper that can capture up to 60 seconds of material and the ability to layer phrases with different effects over the top, all of which can be saved using the 16 presets available. Pretty cool, right?
Connecting a guitar pedal to your Ableton Live setup
Guitar pedals, such as the Microcosm, are typically used in live setups that include just your guitar, an amp, and a couple of jack cables. However, there are instances where music producers will want to use a guitar pedal as an audio effect for their tracks.
For those who are relatively new to the world of music production, connecting a guitar pedal to your audio interface and ensuring that all the routing is correct, especially with a pedal that uses stereo inputs and mono, can be a little confusing. When trying to browse the internet for tips on how to connect the Microcosm, I stumbled upon rather unhelpful forums that didn’t explain it very well or had videos where they merely skipped over the important aspects: how to connect the darn thing! Some of us don’t have large setups with patch bays and whatnot, so this guide is for you if you have a set of monitor speakers and an audio interface. Here’s a breakdown, start to finish, of how to connect the Hologram Microcosm to Ableton Live 11 as an external audio effect.
Step 1: Knowing your inputs and outputs
The Microcosm isn’t like most guitar pedals. Not only does it have a whole load of presets and effects, but it’s also a pedal that has a stereo input and output.
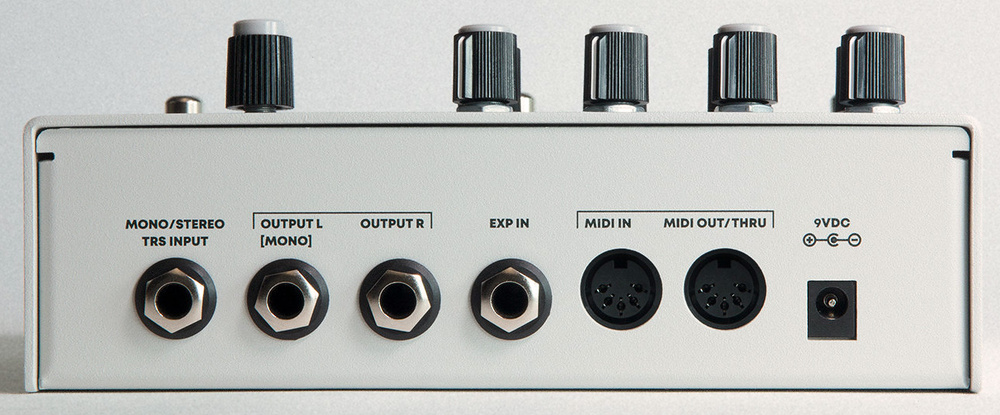
On the back, you will find a Mono/Stereo TRS Input. Therefore, you can route a singular jack-to-jack cable from the Microcosm TRS Input to your audio interface output. If you want stereo input, you can use a dual-to-mono jack cable, with the mono jack going into the Microcosm and the dual jack going into two outputs on the audio interface.
Let’s move on to the outputs of the Microcosm. On the back, you can see there are two outputs. With that, you also have the option to do it in mono. For this guide, we will keep it in stereo as we want stereo playback. From here, you will need two jack-to-jack cables going from the output of the Microcosm to a pair of inputs on your audio interface.
IMPORTANT TO NOTE: You will need an audio interface that has at least 2 sets of inputs and outputs. Interfaces like the Focusrite 4i4, Universal Audio’s Volt 4, or the Audient iD14 mkII will do just fine. As someone who previously had a Focusrite Scarlett Solo, I couldn’t connect the Microcosm with this interface due to a shortage of inputs and outputs!
To simplify, the routing should go as follows:
Audio Interface Outputs (e.g., 1+2) -> Microcosm TRS Input
Microcosm Outputs -> Audio Interface Inputs (e.g., 3+4)
Step 2: Setting up configuration in Ableton Live
Now that we have discussed the cable situation let’s open up Ableton Live.
The most important first step is to ensure that your audio input and output configurations are correct in Ableton. To do this, go to Preferences and select Audio. Ensure that the Driver Type selected is CoreAudio (NB: also ensure that in your computer settings, your audio input and output are using your audio interface) and that the Audio Input Device and Audio Output Device have your audio interface selected.

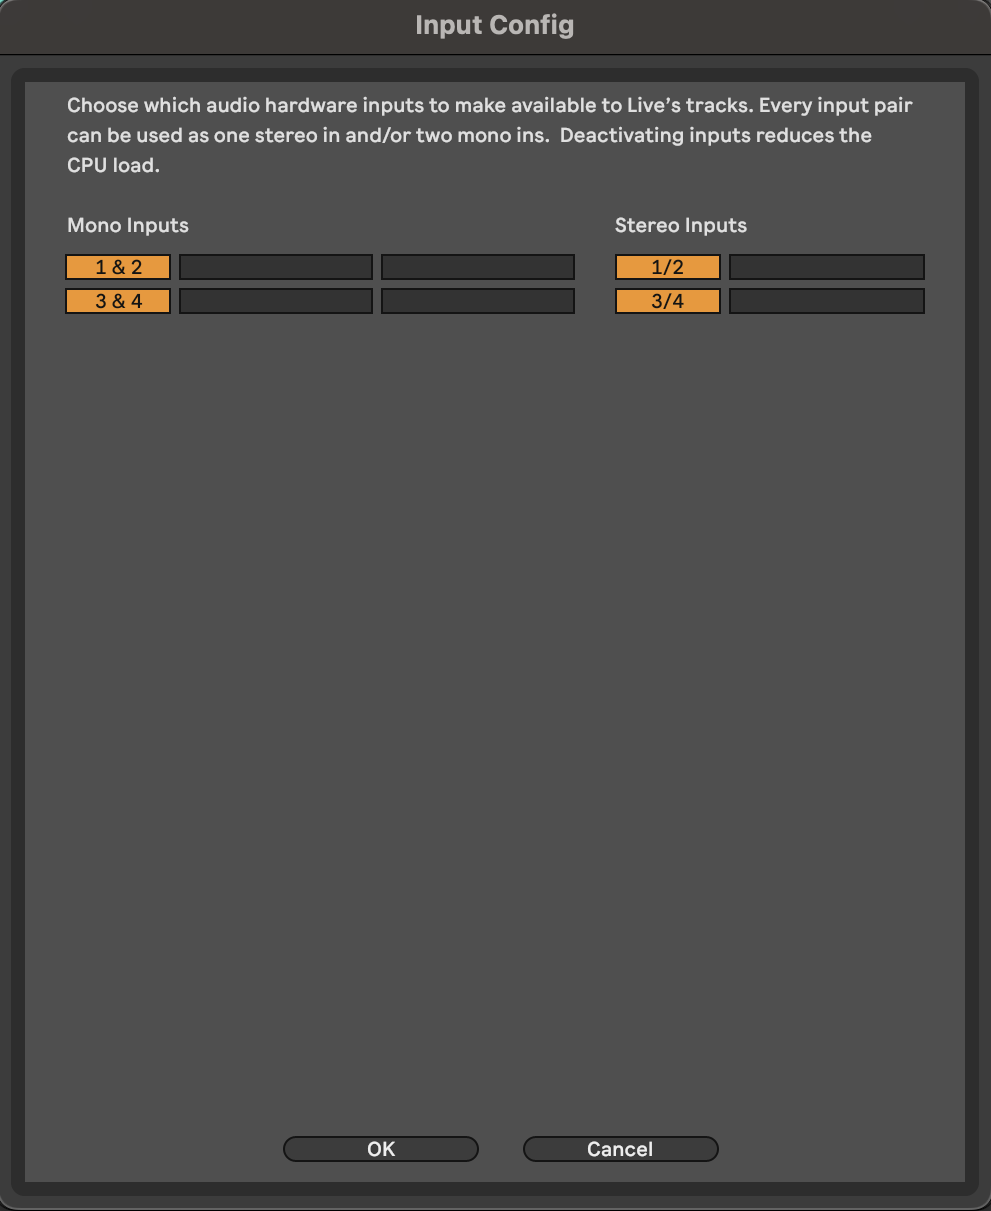
The next step is to ensure that the inputs and outputs of your interface are selected within Ableton. To do this, you will find the Channel Configuration just below the Audio Output Device. Select Input Config, ensure all inputs are selected (highlighted in orange), and do the same for Output Config.
As the Microcosm is a hardware device, we need to set it up as an external audio effect in Ableton to use it as an audio effect. To find this, go to Audio Effects on the left-side menu, and if your effects are grouped, it will be under Utilities. (Bonus tip: To ungroup all the audio effects to see each individual, right-click on the folder and deselect Group in Folder. Thank me later.)
Obtain the audio/MIDI track if you want to add the Microcosm effect. Then click and drag the External Audio Effect onto the track, and you will see something like this.
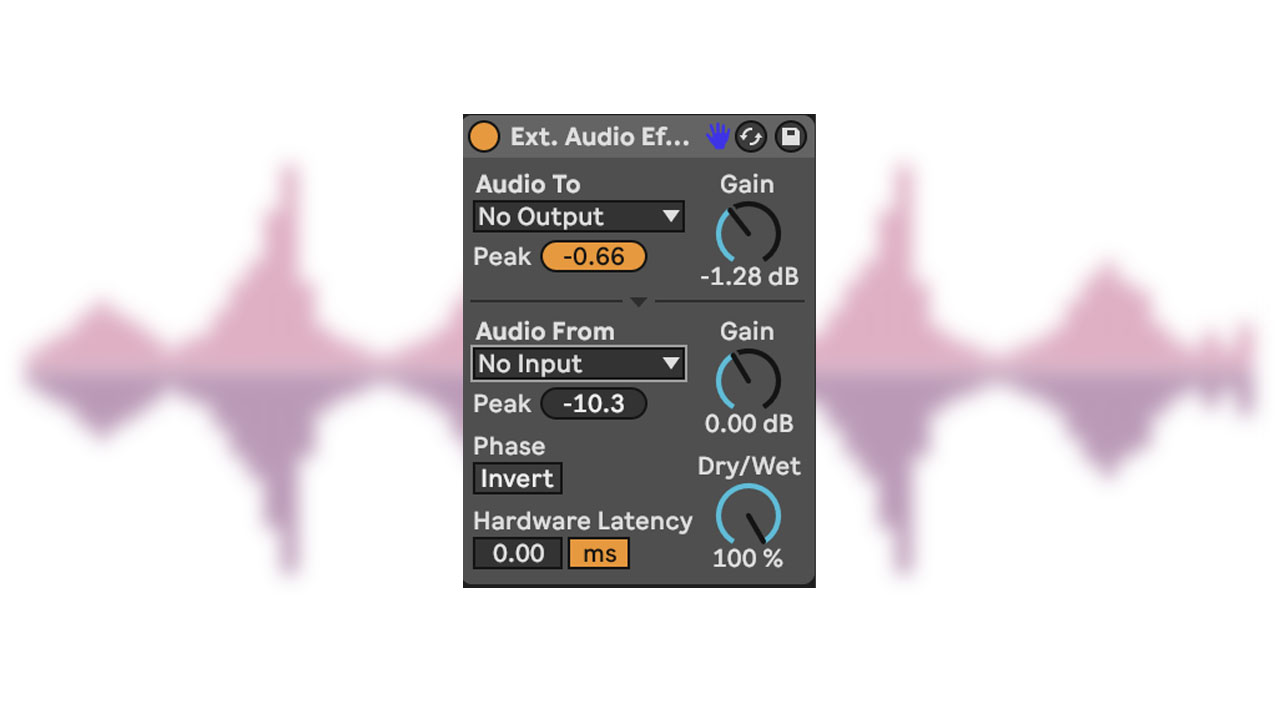
This is where you can select the inputs and outputs from your audio interface. Audio To will be the outputs from your audio interface to the Microcosm, and Audio From will be the inputs from your audio interface to the Microcosm. If the routing is correct, you should not hear anything when you first select the Audio To outputs when you play back the track. Once you have chosen the Audio From inputs, then you will be able to hear a signal.
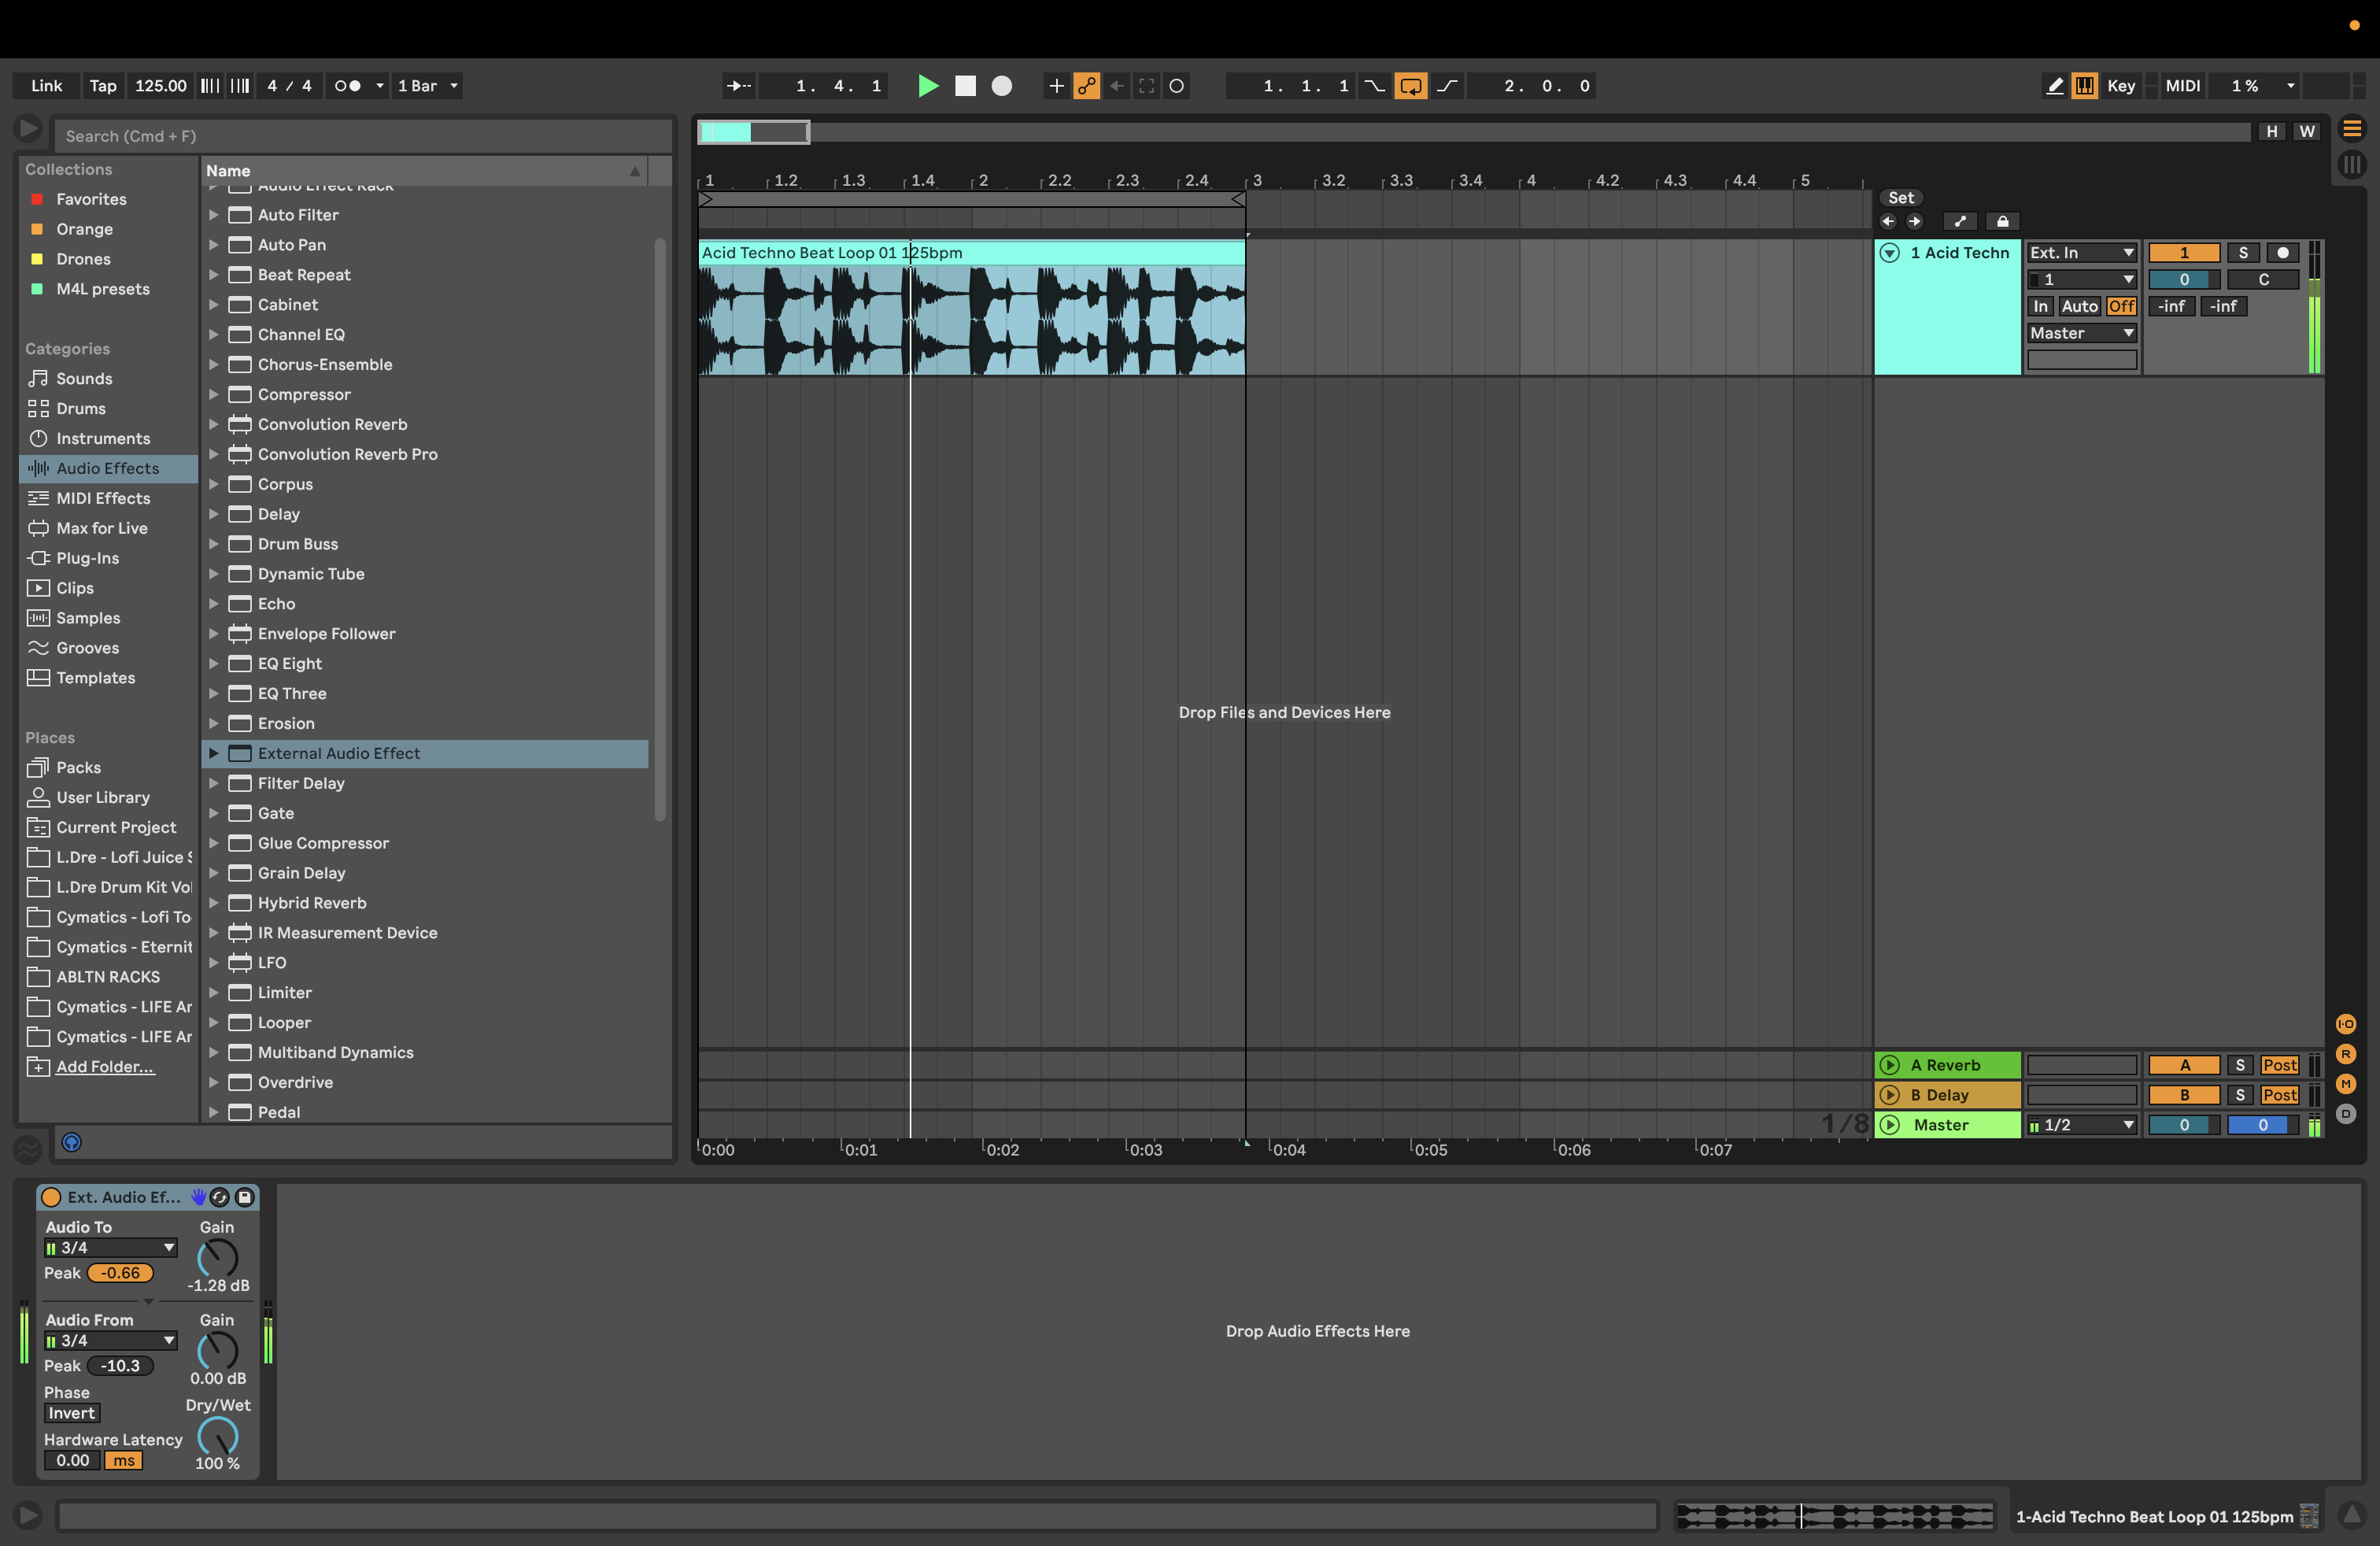
There will be some latency with this setup. Latency is the time it takes for the signal to travel through a system. On the External Audio Effect window, there is an option to adjust this. To determine how much latency you have, set up a new audio track, change the Ext In to Resampling, arm the track, and record a short take. Zoom in, and you may notice it’s not entirely lined up.
You can highlight from the beginning of a transient to the beginning of the transient on the original track, and at the bottom, Ableton will tell you the difference in ms. To make this more accurate, turn off Snap to Grid, which can be found in Options in the Top Menu bar. This is what you will set your latency to. There also may be a case where you will need to invert the phase. This occurs when the short take’s sound wave from your sample is upside down compared to the original.
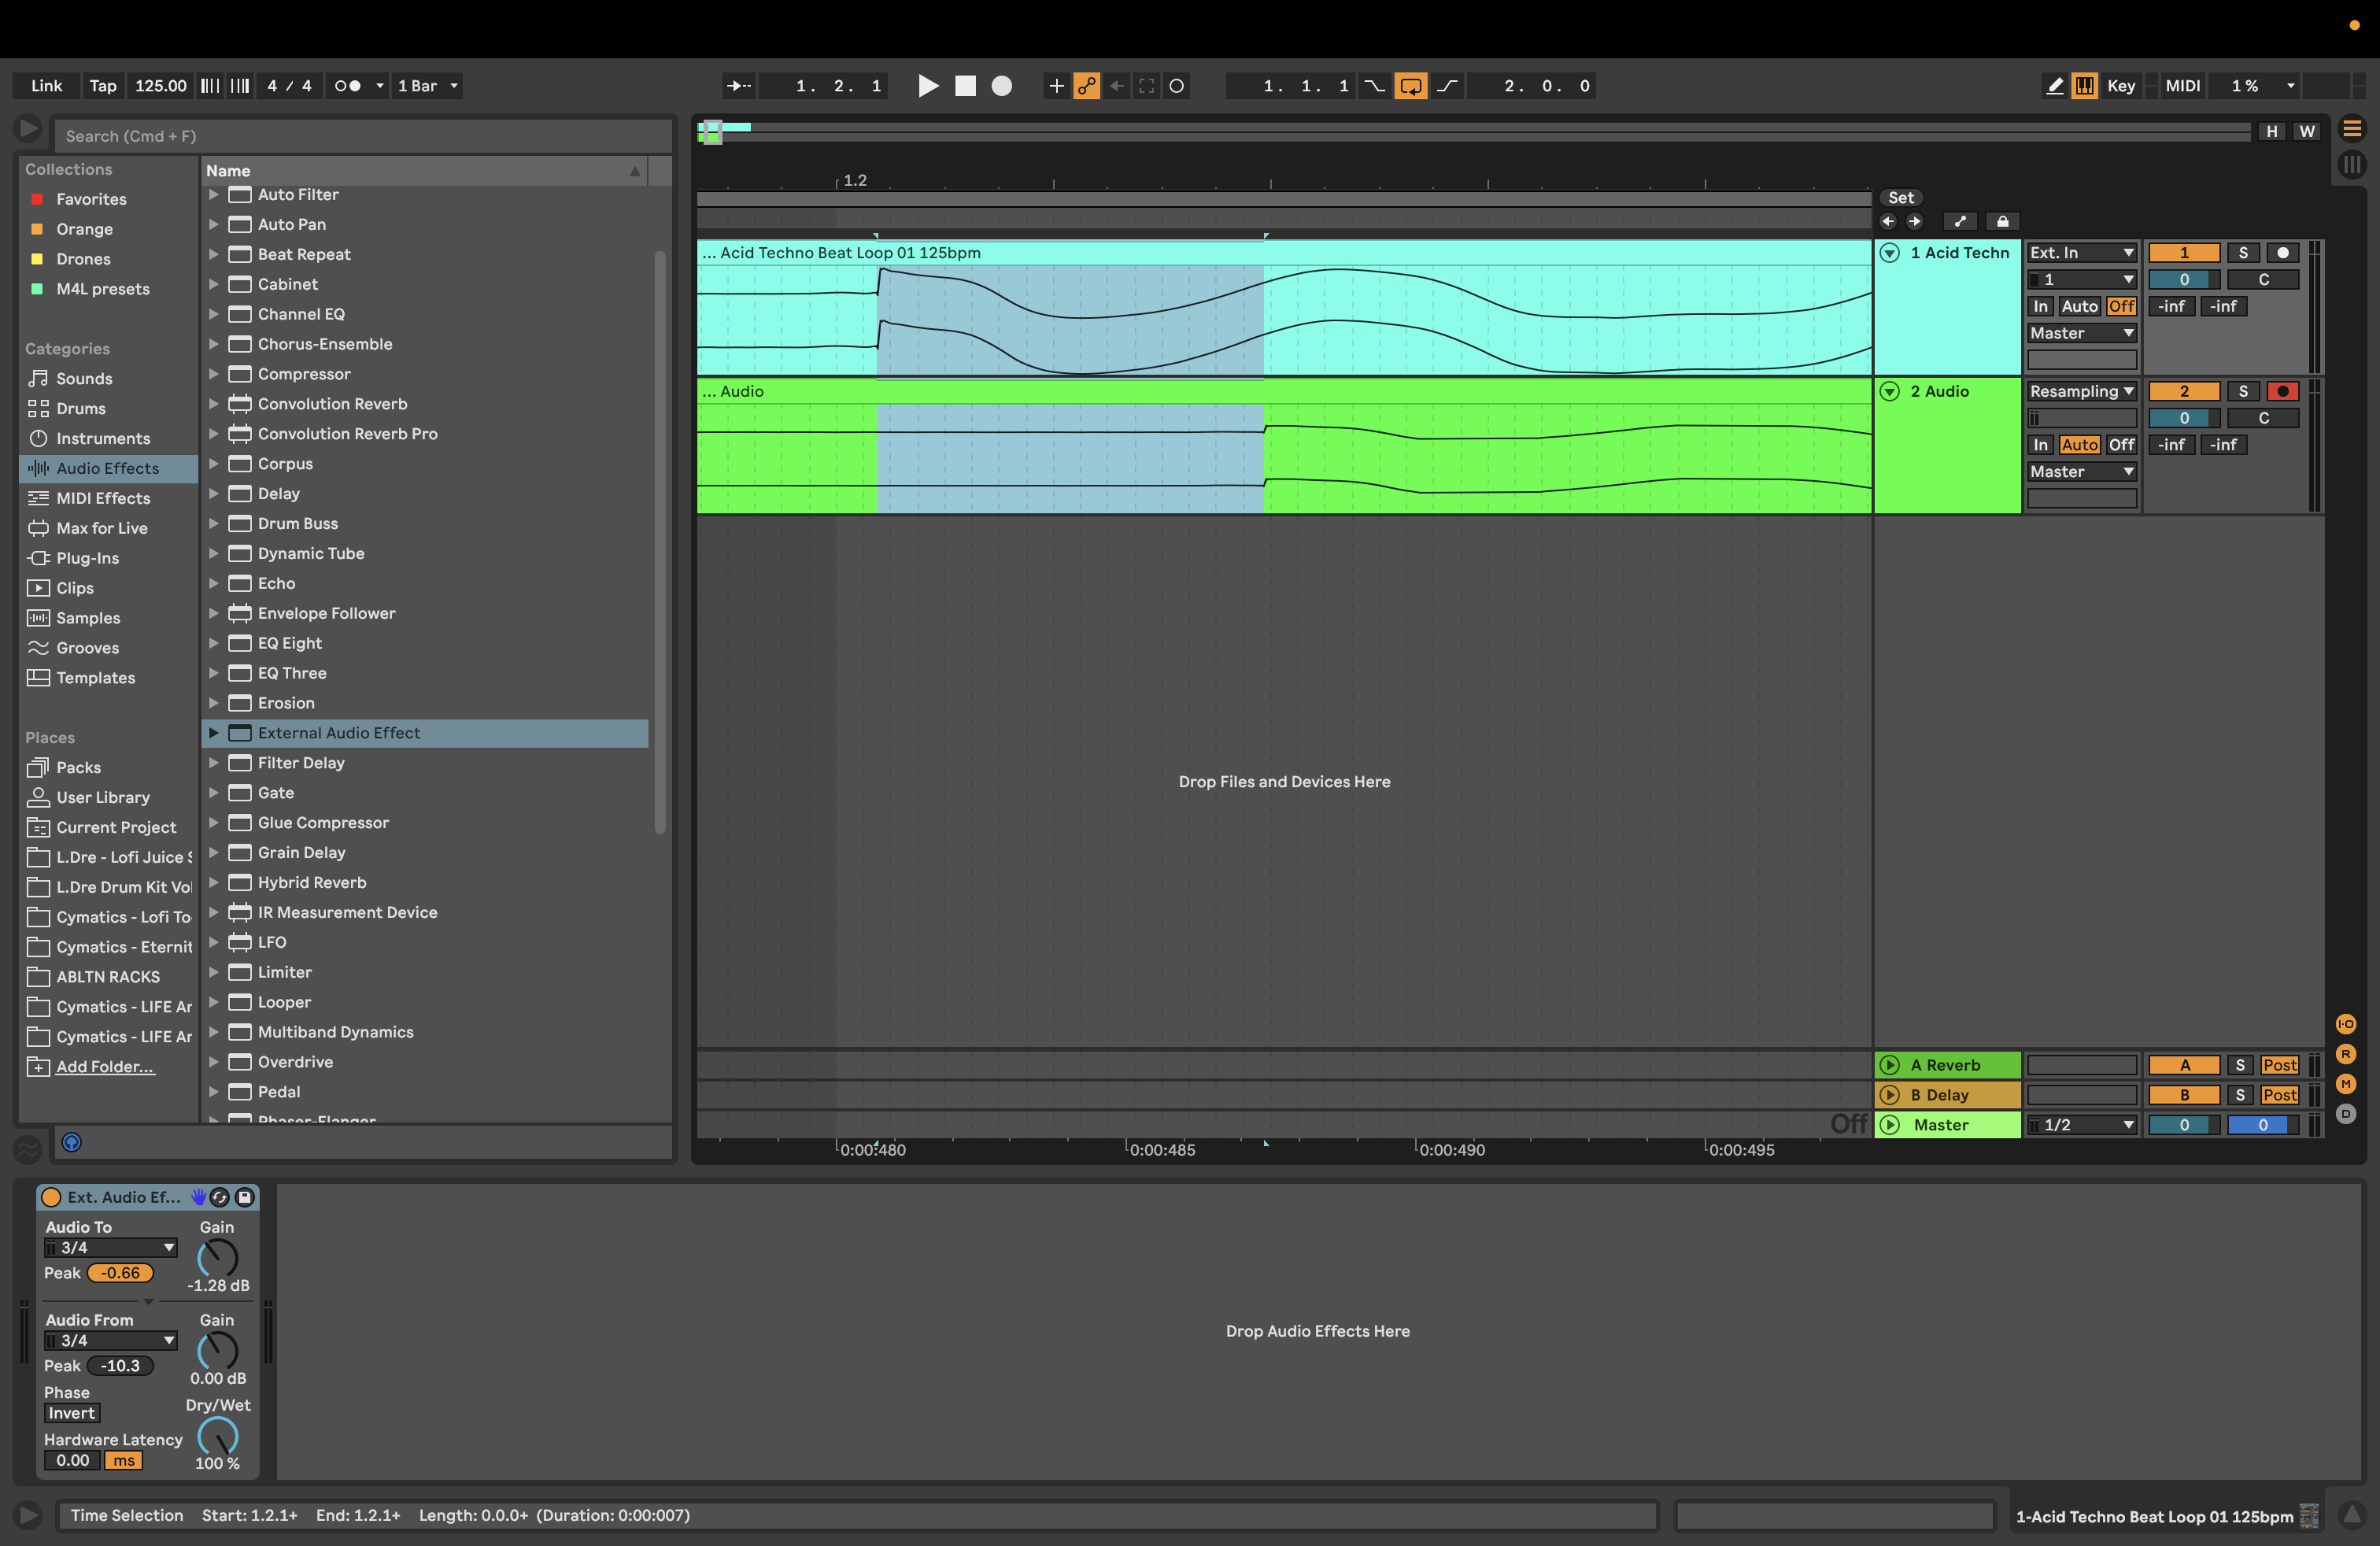
I have found that the Microcosm’s latency is around 7 ms, but this may differ among other setups.
Step 3: Time to Use the Microcosm
Now that we have ensured the routing is correct and fixed any latency, we can begin to play around with the effects of the Microcosm (finally!).
To record your track with the Microcosm effects, follow the same process as when you check for latency. Create a new track and ensure the incoming signal is set to Resampling (or just by selecting the original track in Ext in) that you want to add effects to and don’t forget to arm the track before recording. There may be cases where you must adjust the gain knobs on the External Audio Effect window, such as turning the gain slightly on the Audio To. But do this with care, as you don’t want the track to distort!
Problems That May Occur and What To Do
A problem that may arise is that after selecting the inputs and outputs, the audio signal may sound very delayed or have a chorus effect. This may be due to output monitoring issues. The Volt series, for example, has Monitor source buttons that route the audio corresponding to the inputs and outputs directly to your monitor speakers and headphones. With the Volt series, you must have either Output pair 1+2 or 3+4 selected to hear audio playback from your computer. So why is this important?
If you are using the Volt series, you must be mindful of which outputs to use, as you must have one of the pairs of outputs selected to hear any audio. Albeit the dedicated Monitor Outputs on the Volt at the back, as one of the output pair monitor buttons needs to be on to get audio, this can affect the sound of the Microcosm.
For example, if we have the Output pair 1+2 monitoring button lit up, using Outputs 1+2 will still work, however, any incoming sound from your computer will also go through the Microcosm.
With a Focusrite interface, it’s a little easier to manage. It comes with a dedicated mixing software for your audio interface, allowing you to configure the outputs going to the Microcosm so that they aren’t receiving DAW playback from the outputs routed to your monitor speakers. In plain terms, it ensures that no other sound goes through the Microcosm.
Hologram Electronics briefly explains this in this tutorial on connecting the Microcosm to Ableton and Logic Pro X:
The Microcosm is a dream pedal with effects that create serene soundscapes, adding depth and character. Using it within Ableton can magically enhance your effects setup while incorporating hardware into your workflow. Hardware devices are a great choice due to the ease of automating parameters and taking full advantage of what the hardware offers that Ableton may not carry.
For more on Ableton, check out these articles: