
Since the release of the 5D Mk II, arguably the camera which propelled the DSLR into the filmmaking scene, the technology has improved fivefold. Many filmmakers would have laughed at you if in 2010 you said that one day you would be able to shoot 4k on a DSLR.
Nonetheless, a problem that persists with many DSLRs is that their LCD screens are incredibly hard to view in direct sunlight. The scratch resistant coating reflects sunlight in such a manner that it can become virtually impossible actually to judge focus and framing when filming. Of course for cameras with electronic viewfinders such as the GH4, you can view the composition from the viewfinder instead. However, in some camera angles, or if the camera is on a shoulder rig, that would be unsuitable. There aren’t many solutions to the problem, but the obvious one is to get a field monitor.
On this occasion, we recommend watching the video review as it contains visual examples and narrated audio. The abridged text version of the video below may not have the same impact as the video.
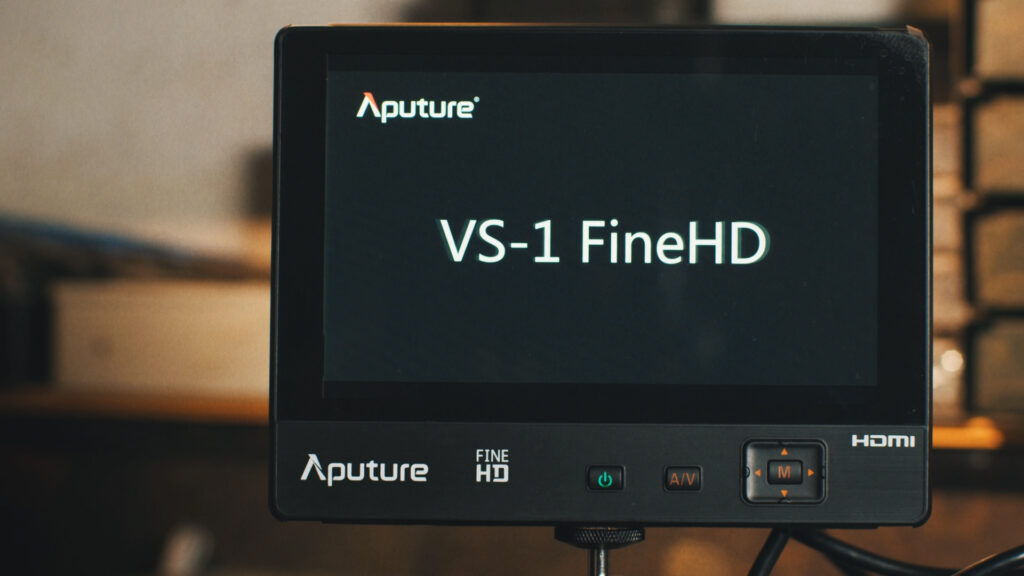
For a financially appropriate purchase, you can look at getting the recently released Aputure Vs-1 FineHD. This is a 7inch 16:9 field monitor that has a resolution of 1920×1200, which is a big increase over the initial VS-1 model and VS-2.
For $200 you get the monitor, a sun hood, an HDMI A type to C type cable, an HDMI A type to D type cable, a power adapter cable, a firmware update cable, a lens cloth, and a universal hot shoe mount.
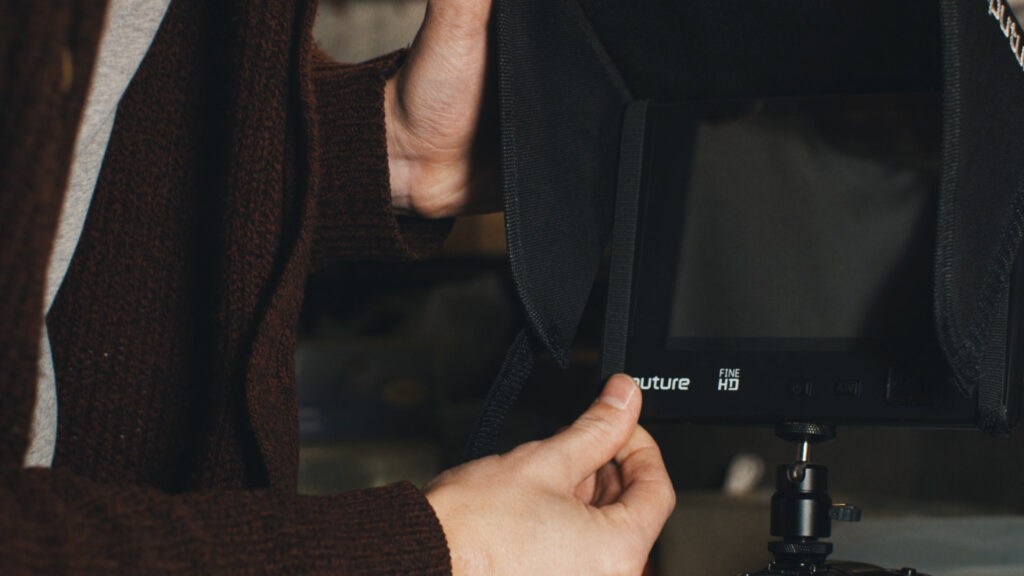
The hood is attached by fitting the elastic strap over the monitors, then by attaching the Velcro strap underneath. The hood does provide a great job at blocking the glare. It doesn’t stop it completely, but then again you have to remember that this is a DSLR, a camera built for still photography. The LCD was initially there to review your photograph, not watch a scene unfold. Unless you have a professional viewfinder to look down, you’re never going to completely negate the glare.
The hot shoe mount is capable of holding the monitor to the camera, however, it definitely lacks the feeling of it being completely safe. If someone were to hit the monitor by accident the hot shoe attachment wouldn’t keep the monitor in position. I would recommend acquiring a magic arm, as this will also allow more flexibility in the placement of the monitor. Another drawback to the VS-1 is the lack of batteries. The monitor doesn’t draw phantom power, so after buying the field monitor, you then have to buy batteries and a charger. You can, however, purchase a package deal on Amazon that includes batteries.
The housing of the monitor is stylish. If you watched the previous video on the Aputure LS1, I commended the sleek design of the light. Aputure does have a good rep of making their products look great.
The monitor boots up in relatively next to no time. One of the first things you want to do upon booting up the monitor is to change the language settings. You can do this by clicking M and scrolling down five times; you will then be presented with the option of changing the language. Even though the settings are in Chinese, the word Language is written in English so you can change it quite easily.
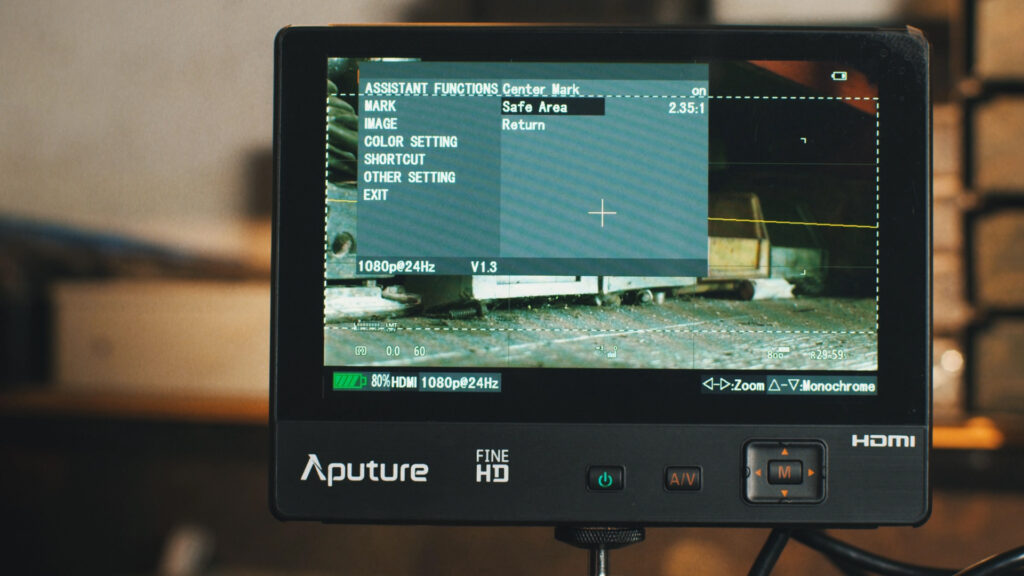
The menu is very minimalistic, and to be honest, the sleek design of an item like this needs to stop on the surface. When the inner mechanics of something like a menu or on-screen graphics start to get elaborate with animations, it can become a frustrating effort to get from A to B.
The menu presents you with a group of basic functions — Centre mark, safe area and so forth. You have the option of a 2:35:1 aspect ratio safe mark which I think is incredibly useful for those who shoot at 1920 by 1080 and like to crop their footage for the cinematic look. Back when DSLR’s were first being used for filmmaking, many people used electrical tape over the actual LCD for onset crop marks, so this feature is handy and less sticky.
The monitor also has a useful zoom function which is a lot easier than finding the zoom on the camera when you have everything is set up. Although I would imagine the zoom function on the monitor is zooming into the information being provided by the LCD, rather than zooming using the sensor as the LCD would.
You’re able to adjust the RGB color settings and the actual color temp. I found upon initially using the monitor there was too much blue coming into my image. Quickly corrected using the easy navigation system.
The up-down/left-right functions also serve as a shortcut key which you can customize to your tailored use.
For how much the monitor costs, it is an excellent addition to your kit. You don’t realize the details you miss when you’re looking at your composition through a tiny 3inch LCD screen — props out of place, glaring set errors. Trust me; the world can’t be seen through 3inchs of glass. It’s a significant improvement to its predecessor. I would still consider this a budget monitor, you’re not going to find the features of a $1000 monitor in the VS-1 FineHD, but you are going to get your money’s worth.
You can purchase the VS-1 FineHD here from Amazon for $198.