Whether you’re a seasoned producer or new to music production, you’ve likely come across the term “Gain Staging.” But what exactly does it mean? Here’s a comprehensive guide to gain staging, its significance, and its application.
Music production demands meticulous attention to balance among the multiple tracks that compose a piece. This is crucial to ensure that everything blends harmoniously in the mix without any track clipping or causing unnecessary distortion. Though the mixing process can be intricate, mastering the art of gain staging can lead to superior sound quality.
What is Gain Staging?
Gain staging refers to ensuring that audio levels are optimal at every point in the signal chain to prevent distortion or noise. By doing this, you achieve the best possible sound from both your analog and digital systems during the mixing process. The primary objective is to ensure each component operates at an adequate level, allowing the track to be sufficiently loud without clipping as it moves to the next processor in the signal chain.
This topic elicits varied opinions among audio experts. Every expert might have their unique approach, and many nuances must be considered. For novice producers, understanding the basics of gain staging can be a significant asset as they delve deeper into the craft.
Why Do We Need Gain Staging?
Gain staging addresses several challenges to achieve superior sound quality. For instance, some tracks might be louder than others, and softer tracks might not provide enough scope to boost the faders to a desirable level.
The predominant issue is undesired noise. Such noise can emerge as ambient noise captured by the microphone, a subtle hum, or hiss from the electronic components within your analog equipment or digital system. Elevating the level can amplify this noise, potentially marring your mix due to a poor signal-to-noise ratio (discussed later).
Plugins in your Digital Audio Workstation (DAW) can also reap the benefits of gain staging. They function best at specific levels. Therefore, if a track is recorded at a deafening volume, it may degrade sound quality. Properly gain staging each plugin in the signal chain can enhance the overall audio signal.
Some Fundamental Terms
If gain staging seems intricate at first glance, fear not—we’ll delve into its underpinnings to offer more precise insights. This is not a skill one perfects in a day—it demands experimentation, consistent practice, and patience.
It’s pivotal to discern between Gain and Volume. Although they share similarities, they serve distinct roles. Gain denotes the amplitude of a signal as it enters a device—in layman’s terms, the input level. Conversely, Volume signifies the amplitude of a signal as it exits a device or the output level. This can relate to hardware synthesizers or a DAW instrument.
Let’s move on to understanding the role of a Signal Chain.
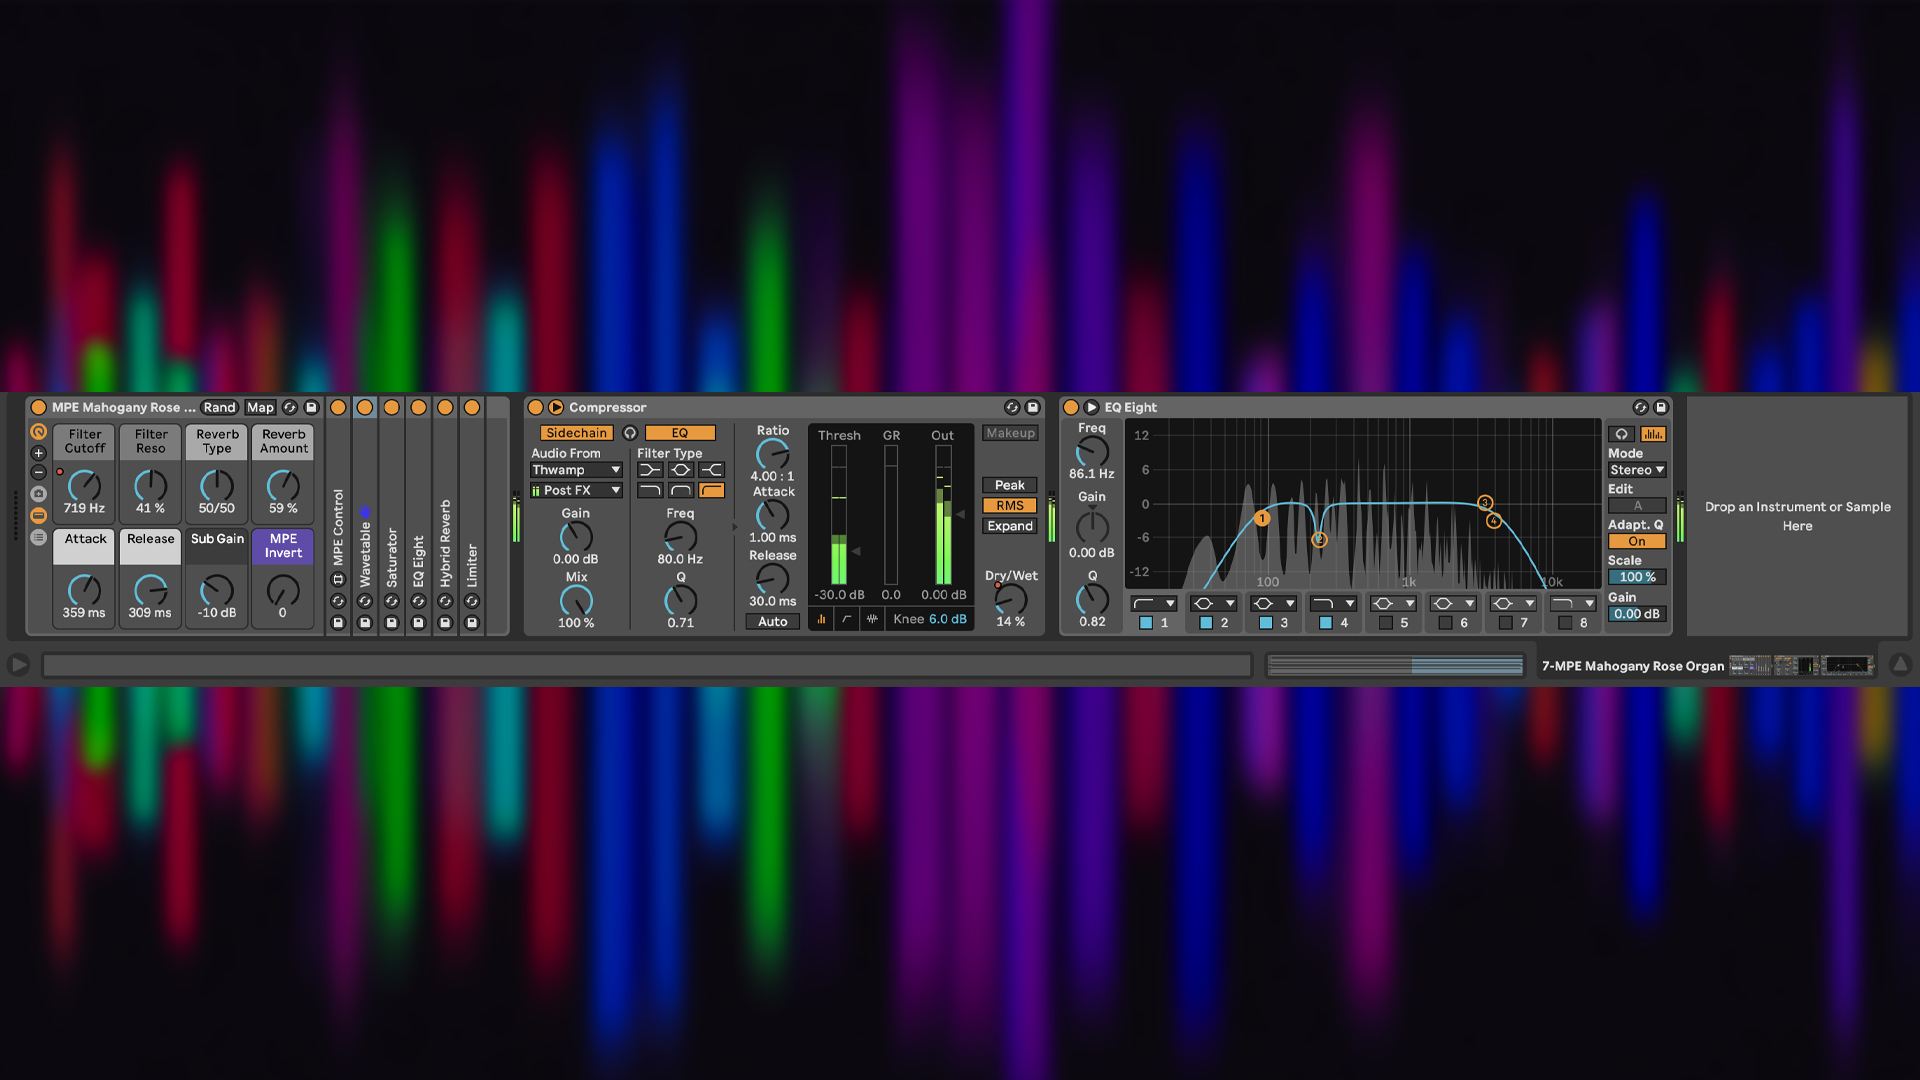
A Signal Chain delineates the trajectory of an electrical audio signal. You’ll typically encounter audio effects or plugins within your DAW’s signal chain, such as EQ, Compressor, or Reverb. When audio is recorded too loudly, it risks distortion as it navigates these plugins. This underscores the importance of gain staging—to ensure the signal isn’t excessively loud or soft. It’s a balancing act.
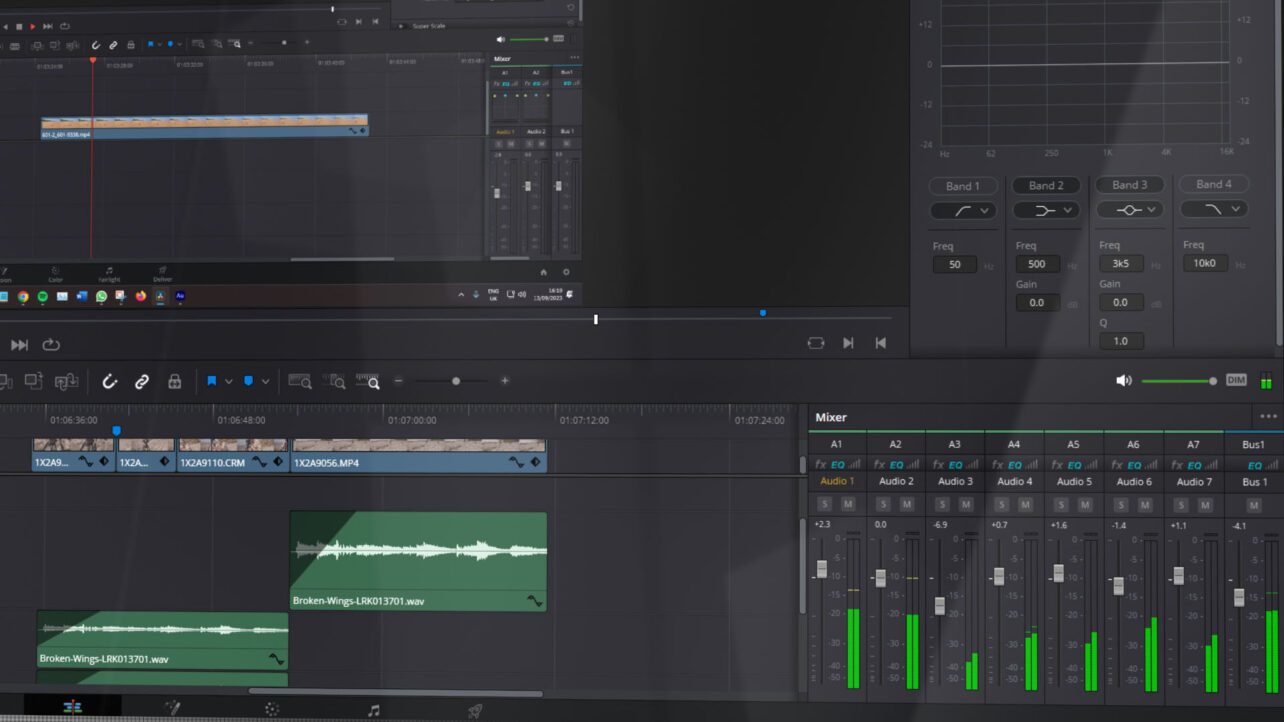
Every component within the signal chain likely possesses a gain output control. It’s imperative to fine-tune this for optimal gain staging. In Ableton, as an illustration, a small fader icon post every plugin indicates the output level. These markers are invaluable during the gain staging procedure, as the aim is to maintain them in the green zone.
Lastly, the signal-to-noise ratio (SNR) is a cornerstone in gain staging.
SNR contrasts the audio signal power level with noise power, gauged in decibels (dB). A high SNR is sought-after, as a diminished SNR implies that system noise could overpower and compromise your audio signal’s quality. Such a scenario leads to audio coursing through the signal chain not adhering to desired standards. Indeed, that’s an outcome to avoid!
This consideration becomes particularly vital when recording with microphones. Using a high-quality microphone ensures a high signal-to-noise ratio. Furthermore, optimizing the recording environment can enhance the SNR by minimizing background noise and implementing acoustic treatments.
Another pivotal concept in this context is headroom.
Headroom is the space between the peak level of the audio (transients) and 0 decibels full scale (dBFS). When gain staging, especially in the master channel, retaining at least -6dB of headroom is recommended. Providing too little can be limiting.
The Gain Stages
“Gain staging” fundamentally refers to distinct gain stages or the components where you can adjust the levels.
Let’s focus on gain staging in a home studio setup for our discussion. Examples of gain stages encompass the channel faders for tracks, the volume control of a plugin, VST volume control, and the master channel fader. At each stage, it’s vital to adjust the signal level correctly. This ensures that, as it progresses to the next step in the chain, it neither clips from being too loud nor inaudibly quiet.
Recording Level
Whenever a recording involves a microphone, capturing sound at the appropriate level is paramount. Addressing this upfront can prevent numerous issues later. The notion that problems can be fixed post-recording is a misconception; any unwanted noise or quality degradation will ALWAYS remain! No post-processing magic can salvage a poorly recorded track. Taking the time to set recording levels correctly at the outset is invaluable, and you’ll be grateful for this foresight in the end!
When tweaking the gain on your preamp or audio interface, aim for the level meter to register between -18dB and -10 dB. This range provides sufficient headroom for adding effects plugins later. Consider this a guideline rather than a strict rule. Always trust your ears, and ensure the level meter displays a healthy green.
The Gain Staging Process
Gain staging is not a one-size-fits-all process; there are various methods. Most audio engineers develop their unique approach. Once familiar with the fundamentals, you can tailor the process to your needs.
Unity Gain
The initial step involves ensuring that the faders on each track are set to their default, which is 0dBFS. This applies to individual tracks and the master fader or stereo output channel.
Observation and Adjustment
Focus on the performance of each track within your session. Pay close attention to the level meter, ensuring it averages around -18dBFS and doesn’t surpass -15dBFS. Instruments with pronounced transients, like drums, might peak around -10dBFS. As long as you stay below this mark, you’re on track.
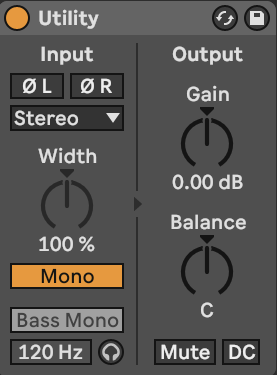
Adjust the levels accordingly if a track doesn’t align with the -18dBFS benchmark or is overly loud. A critical guideline is to avoid using the channel fader for these adjustments. Instead, employ a volume plugin, such as Utility in Ableton. This tool features a gain knob, preferable over the channel fader. When working with a virtual instrument, modify its output level.
Plugins
Your tracks will likely incorporate plugins within the signal chain, be it third-party or stock effects. Always be conscious of the output gain for each. Some might also offer input gain control. Proper gain staging within these plugins ensures each component in the signal chain contributes the finest sound quality.
Trust Your Ears
Your ears are the ultimate judge. If tracks don’t have comparable volumes, adjust until you achieve balance. While aiming for a signal between -18dBFS and -10dBFS might appear low, this range has been the industry standard for some time, especially for transient-heavy signals. Such a setup also provides ample headroom for mastering your track – the concluding step before your music goes public.
With gain staging, your tracks are primed at the optimal level, freeing you to mix to perfection.
For more on audio, check out these articles:
Budget-Friendly Essentials for a Home Recording Studio
XLR vs. Jack: What Are The Differences Between The Two Cables?